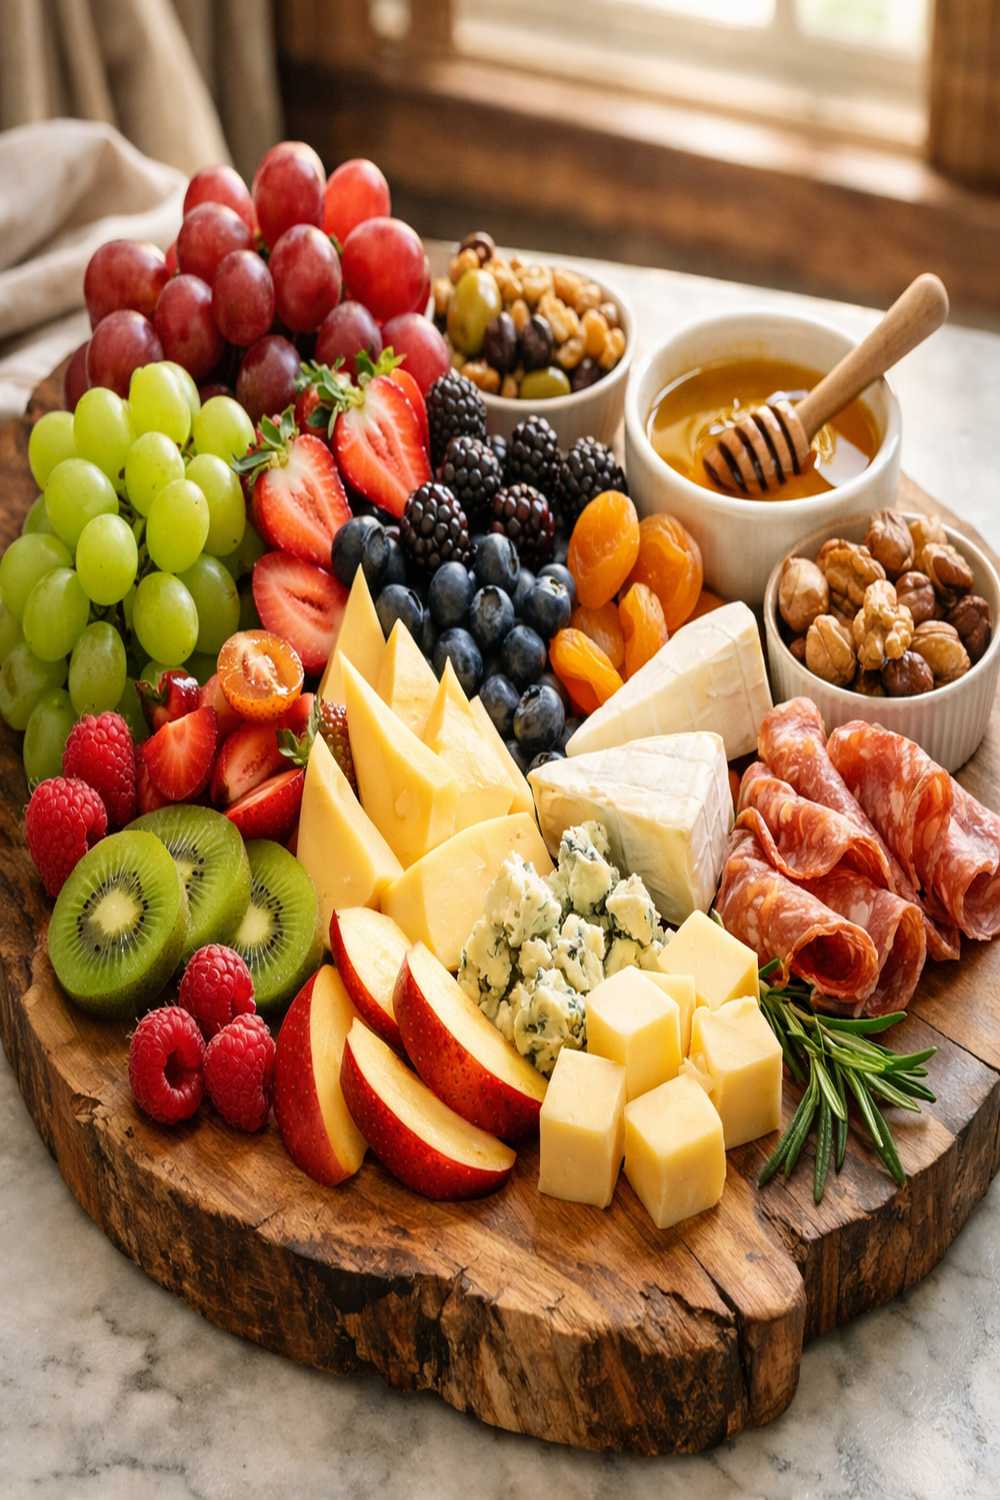

Ingredients
Method
Step 1: Wash and Prep Your Produce
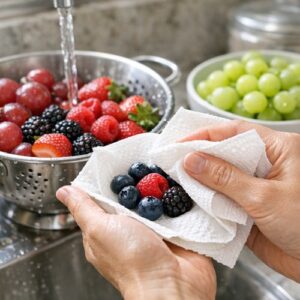
- Start by rinsing all your fresh fruit under cool running water. Gently pat berries dry with paper towels—wet berries can get mushy and sticky on your board. For the apple, wash it well and slice it thinly (about ¼-inch thick). I slice mine lengthwise so you get those beautiful red or green striped rings. If you're worried about the apple browning, which many people are, here's my trick: slice it about 15 minutes before serving, and it'll be fine. The acid in any citrus on your board will naturally prevent browning. If you're making this hours ahead, you can toss the apple slices in a tiny bit of lemon juice. For the mandarin oranges, peel them and separate into individual segments. Leave them whole—don't break them up. For the grapes, rinse them and leave them in small clusters or separate them depending on your preference. I actually like leaving small clusters because they look more abundant on the board.
Step 2: Prep Your Cheeses and Breads
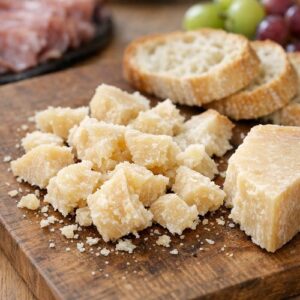
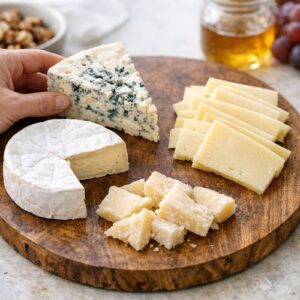
- This is where the visual magic starts happening. Take your Parmesan-Reggiano and break or cut it into rough, irregular chunks. You're not looking for perfect pieces—irregular looks more elegant and inviting. If your cheese came sliced, fold some slices into quarters or thirds. For your assorted sliced cheeses, I like cutting them into triangles or leaving them as they are if they're already sliced nicely. The variety of shapes matters more than perfection. Take those mini cheese rounds and unwrap them so they're ready to go. Slice your baguette into thin pieces—about ¼ to ½ inch thick. Arrange them on the board as you work, or keep them in a small pile off to the side if you're worried about them drying out. They stay fresher that way until the last moment.
Step 3: Create Your Board Layout
- Now we get to the creative part! Take your board or platter and lay out your larger items first. I always start with the cheeses because they're the anchors of this board. Place your Parmesan chunks in 2-3 small clusters spread across the board. Do the same with your sliced assorted cheeses—group similar types together but spread the groups around. This creates visual balance. Next, arrange your mini cheese rounds in a small cluster or scatter them throughout. Think of these bigger items as the foundation of your design. If you're using small bowls for nuts or honey, place those on the board now. These bowls act as natural dividers and help you fill space efficiently.
Step 4: Fill in the Fruit and Nuts
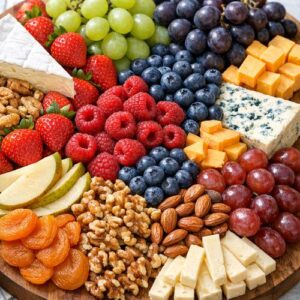
- This is where it comes alive! Start filling in the gaps between your cheeses with fruit. Group same fruits together rather than scattering individual pieces everywhere. A cluster of berries looks better than berries dotted randomly across the board. A pile of apple slices looks intentional rather than scattered. Create little sections: blueberries here, strawberries there, apple slices in that corner, grapes along the edge, mandarin segments in another spot. The key is to make it look full and colorful. If you see empty space, it's not full enough yet. Scatter your pistachios and mixed nuts around—these add beautiful color contrast and texture. I like putting nuts near the cheese since they pair so well together.
Step 5: Add Crackers and Final Details
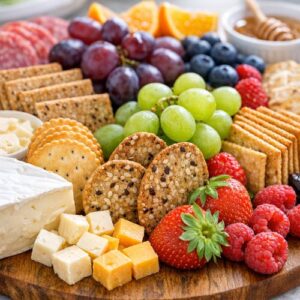
- Now arrange your crackers around the board in small piles or standing slightly upright. Lean some crackers against the cheese or fruit—this looks more dynamic than laying them all flat. Fill any remaining gaps with additional crackers, extra berries, or a few more grapes. If you're using honey or jam, drizzle the honey decoratively or add a small spoon in the bowl. This signals to guests that these are meant for dipping. Step back and look at your creation. Does it look full? Does it have color variety? Are there any glaringly empty spaces? If yes to all, you're done!
Step 6: Add Serving Utensils and Serve
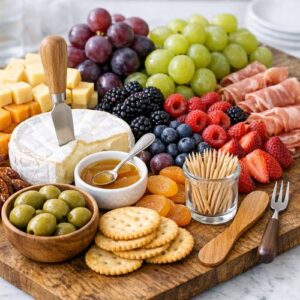
- Before serving, place a cheese knife, small spoon, or wooden spreader on the board for guests to use. You can also add small toothpicks for grabbing berries or small pieces. This makes it easy for people to serve themselves without using their hands. If you're serving immediately, fantastic! If you made it ahead, cover it loosely with plastic wrap or a tea towel and refrigerate. Just let it sit at room temperature for about 10-15 minutes before serving so the cheese isn't ice-cold.
Notes
- 2 tablespoons raw honey (optional but recommended for drizzling, found in the baking or condiment aisle)
- 1 pint mixed berries (I use a combination of blueberries, raspberries, strawberries, and blackberries—look for berries that are firm and deeply colored, found in the produce section or farmers market)
- 3-5 mandarin oranges (choose ones that feel heavy and have thin skins, optional but add bright color and natural sweetness)
- ½ pound red or green grapes (look for bunches where individual grapes feel plump and haven't started shriveling)
- 1 Granny Smith apple (choose one that's firm and crisp, not soft, found in the produce aisle—the tartness balances rich cheeses perfectly)
- 1 cup roasted pistachios (unsalted or lightly salted, found in the snack aisle or bulk section—these add gorgeous color)