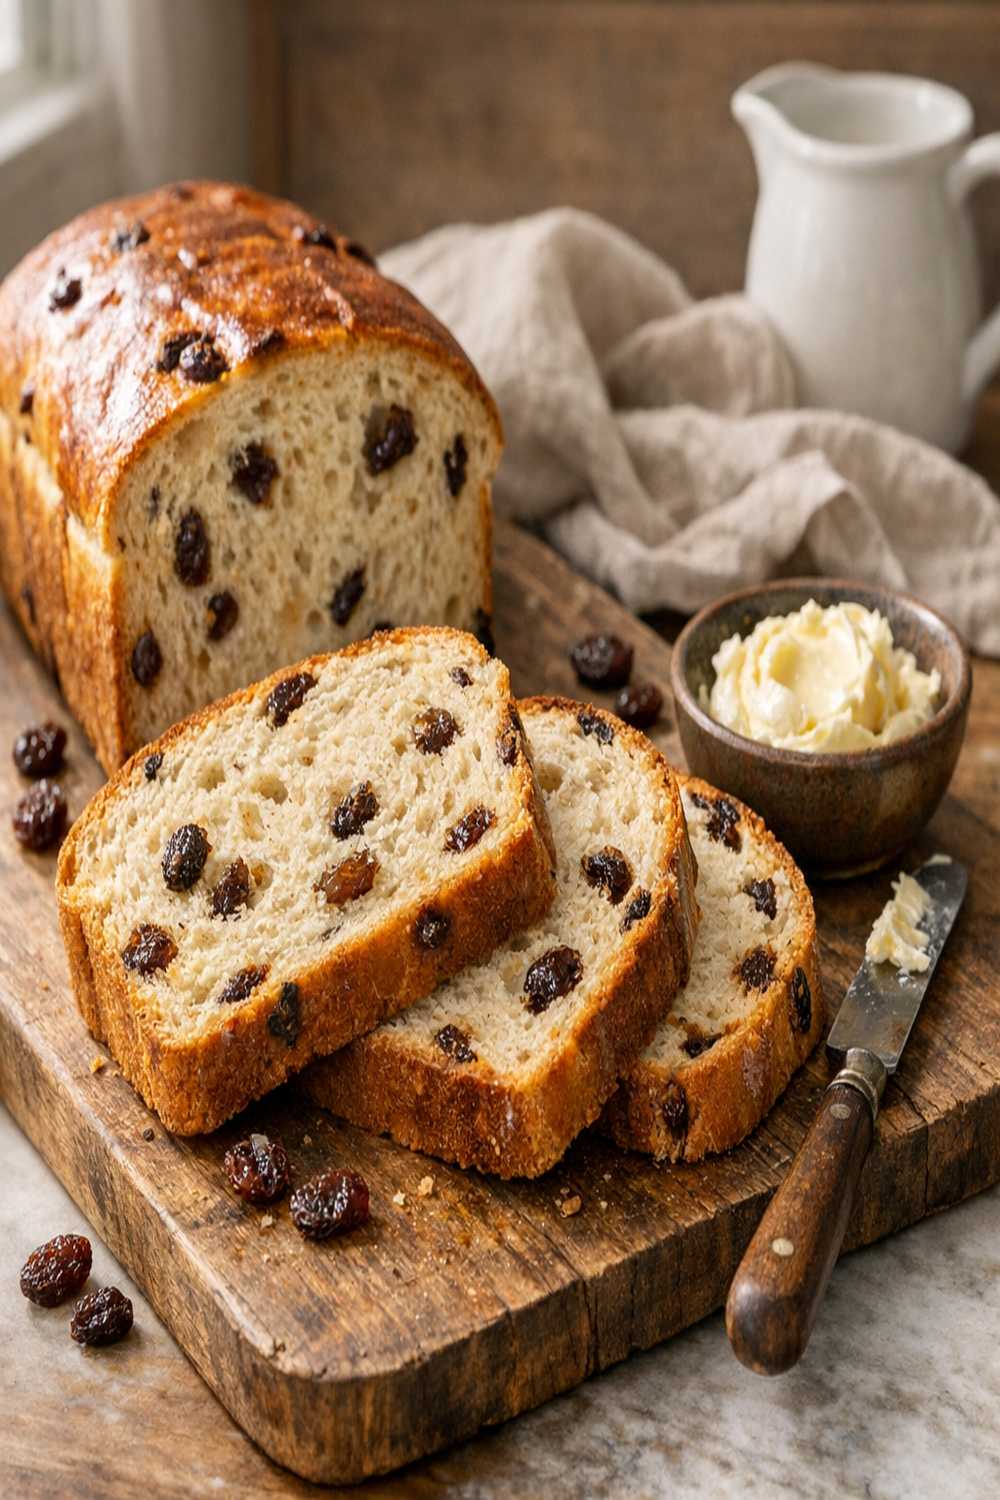

Ingredients
Method
Step 1: Activate Your Yeast (The Critical Foundation)
- Pour your warm water into a small bowl and check the temperature with an instant-read thermometer. This matters more than you'd think. Water that's too cool won't activate the yeast; water that's too hot will kill it. You're aiming for that sweet spot between 110-115 degrees—think comfortably warm bath water. Sprinkle both packets of yeast into that warm water and let it sit undisturbed for about 10 minutes. You'll watch something magical happen: the yeast will bloom and become foamy on top. This foam is your signal that everything's working. If you don't see foam after 10 minutes, your yeast might be expired—start over with a fresh packet. Trust me on this one.

Step 2: Warm Your Milk (Gentle Heat, Big Impact)
- In a small saucepan, pour your milk and turn the heat to medium. You're not boiling it; you're just warming it until you see small bubbles forming around the edges—that's about 180 degrees. This step pasteurizes the milk slightly and helps develop the bread's flavor and texture. Remove it from heat immediately and let it cool to lukewarm, about 120-125 degrees. This takes about 5-10 minutes of sitting time. Why does temperature matter here? Milk that's too hot can interfere with gluten development. Milk that's too cool won't help activate the yeast properly. You're creating optimal conditions for your dough to rise beautifully.

Step 3: Combine Your Wet Ingredients (The Dough Foundation)
- Pour your foamy yeast mixture into a large mixing bowl—or the bowl of your stand mixer if you have one. Add your cooled milk slowly, stirring gently. Then add your three room-temperature eggs, one at a time, mixing well after each addition. Add the milk slowly so the residual heat doesn't scramble your eggs. This might sound overly cautious, but I learned this the hard way years ago! Add your softened butter, ½ cup sugar, and salt. Mix until everything is combined and you have a slightly thick, wet mixture. This should take about 2-3 minutes with a stand mixer or about 5 minutes by hand with a wooden spoon.
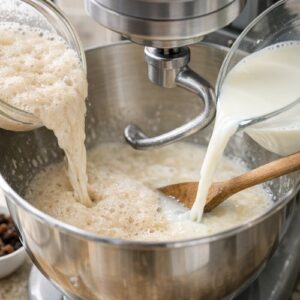
Step 4: Add Your Flour and Raisins (Building Structure)
- Now comes the part where your dough transforms from a wet mixture into something with actual structure. Add your 8 cups of flour gradually—about 1 cup at a time—mixing between each addition. I like to use my stand mixer with the dough hook here, but a wooden spoon works beautifully too if you're doing this by hand. When you've added about 6 cups of flour, fold in your raisins. Continue adding flour until you have a stiff dough that pulls away from the sides of the bowl. You might not need all 8 cups, or you might need a little more—flour absorbs moisture differently depending on humidity. You're looking for a dough that's slightly sticky but holds together.
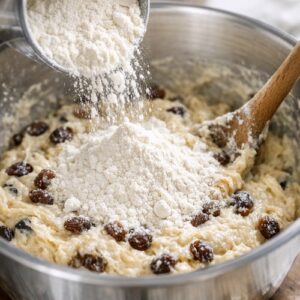
Step 5: Knead Your Dough (Creating the Gluten Network)
- Turn your dough out onto a lightly floured surface. Knead it for about 8-10 minutes, using the heel of your hand to push the dough away from you, then folding it back over itself. If you're using a stand mixer with a dough hook, run it on medium speed for 5-7 minutes—it does the same work. You'll feel the dough transform under your hands. It starts shaggy and slightly sticky, then gradually becomes smoother and more elastic. This is gluten development happening in real time. When you press your finger into the dough, it should spring back slowly—not immediately, but eventually. That's your signal you're ready to rise.
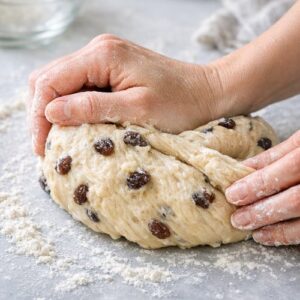
Step 6: First Rise—The Patience Phase (1½ Hours)
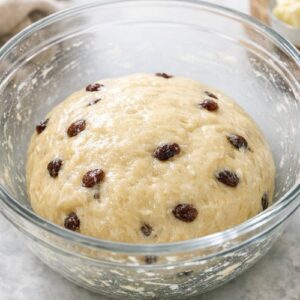
- Lightly butter a large mixing bowl. Place your kneaded dough inside and turn it over so the surface is coated with a light layer of butter. This prevents a crust from forming on top. Cover it with a warm, damp kitchen towel or plastic wrap. Here's my favorite hack: place the covered bowl inside your oven with just the light turned on. The gentle warmth from that bulb creates the perfect rising environment—warm enough to encourage yeast activity but not so hot that it causes uneven rising. If your oven light doesn't provide enough warmth, you can also place the bowl on top of your refrigerator or in a turned-off oven with the door cracked. Let it rise for about 1½ hours, or until it's doubled in size. The exact time varies based on your kitchen temperature. During winter, it might take closer to 2 hours. During summer, it might be done in an hour. You're watching for size, not the clock.
Step 7: Shape Your Loaves (The Transformation Moment)
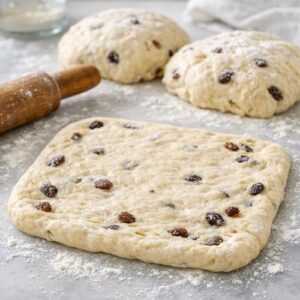
- Turn your puffy, risen dough out onto a lightly floured surface. Divide it into three roughly equal pieces. Take one piece and roll it out into a rectangle about ½ inch thick—roughly 8x12 inches. Brush the surface lightly with your 2 tablespoons of milk. In a small bowl, mix your 1 cup of sugar with your 3 tablespoons of cinnamon. Sprinkle this mixture evenly over the moistened dough—don't skimp here; you want every bite to have that cinnamon sugar goodness. Starting from one long edge, roll the dough tightly toward you, creating a log about 3 inches in diameter. Roll tightly, but not so tight that you're forcing out all the air. You want some gentle tension. Pinch the seam along the bottom and tuck the ends under slightly. Repeat with your two remaining dough pieces.
Step 8: Place in Pans and Second Rise (1 Hour)
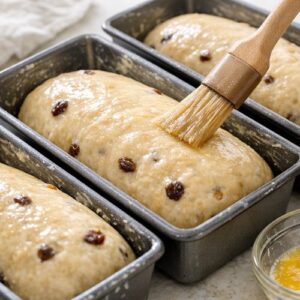
- Generously grease three 9x5-inch loaf pans with butter or non-stick spray. Place one shaped loaf into each pan, seam-side down. Lightly brush the tops with a little more melted butter. Cover them loosely with plastic wrap or a damp towel. Let them rise in a warm place for about 1 hour, or until they've puffed above the edges of the pans. You want them puffy but not so overproofed that they collapse when you touch them. If you gently poke the side of a loaf, your finger should leave a slight indentation that springs back slowly.
Step 9: Bake Until Golden (45 Minutes of Anticipation)
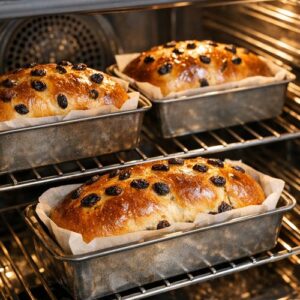
- Preheat your oven to 350 degrees. Place your three loaves on the middle racks—if they're on different racks, you might want to rotate them halfway through baking so they brown evenly. Bake for 45 minutes, or until the tops are a beautiful golden brown and the loaves sound hollow when you tap them on the bottom. This hollow sound tells you the inside is fully cooked through. If the tops are browning too quickly, you can tent them loosely with foil after about 30 minutes.
Step 10: Cool and Final Brush (Finishing Touches)
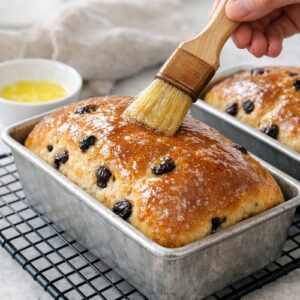
- Remove your loaves from the oven and immediately brush the tops with melted butter. This creates a soft, tender crust and adds richness. Let them cool in the pans for about 20 minutes, then turn them out onto wire racks to cool completely. After about 20 minutes on the racks, you can lay them on their sides (they'll be easier to slice this way) and continue cooling. I know it's torture to wait, but let these loaves cool completely before slicing—about 1-2 hours. If you slice them warm, the inside structure is still setting, and you'll get gummy slices. Once fully cooled, they slice beautifully and stay fresh for days.
Notes
- Water temperature chaos: This is the number one mistake I see. People skip the thermometer, guess on the temperature, and end up with either dead yeast or accidentally cooked eggs. Don't guess—use a thermometer. A ten-dollar instant-read thermometer is one of the best investments for bread baking.
- Slicing too early: The interior of bread continues to set as it cools. Slicing while still warm creates a gummy texture that feels disappointing after all your work. I know the warm bread smells amazing and you want to eat it immediately, but patience here truly pays off. Wait until it's completely cool.
- Skipping the rise time signals: Every kitchen is different. Don't just follow the timing blindly—watch for the dough doubling in size. If you have a cold kitchen, the timing will be longer. If you have a warm kitchen, it might be faster. Trust the visual cues, not the clock.
- Oversalting the cinnamon mixture: Some people add salt to their cinnamon-sugar filling—don't. The dough already has salt, and the filling doesn't need it. It'll just make your final bread taste unpleasantly salty.