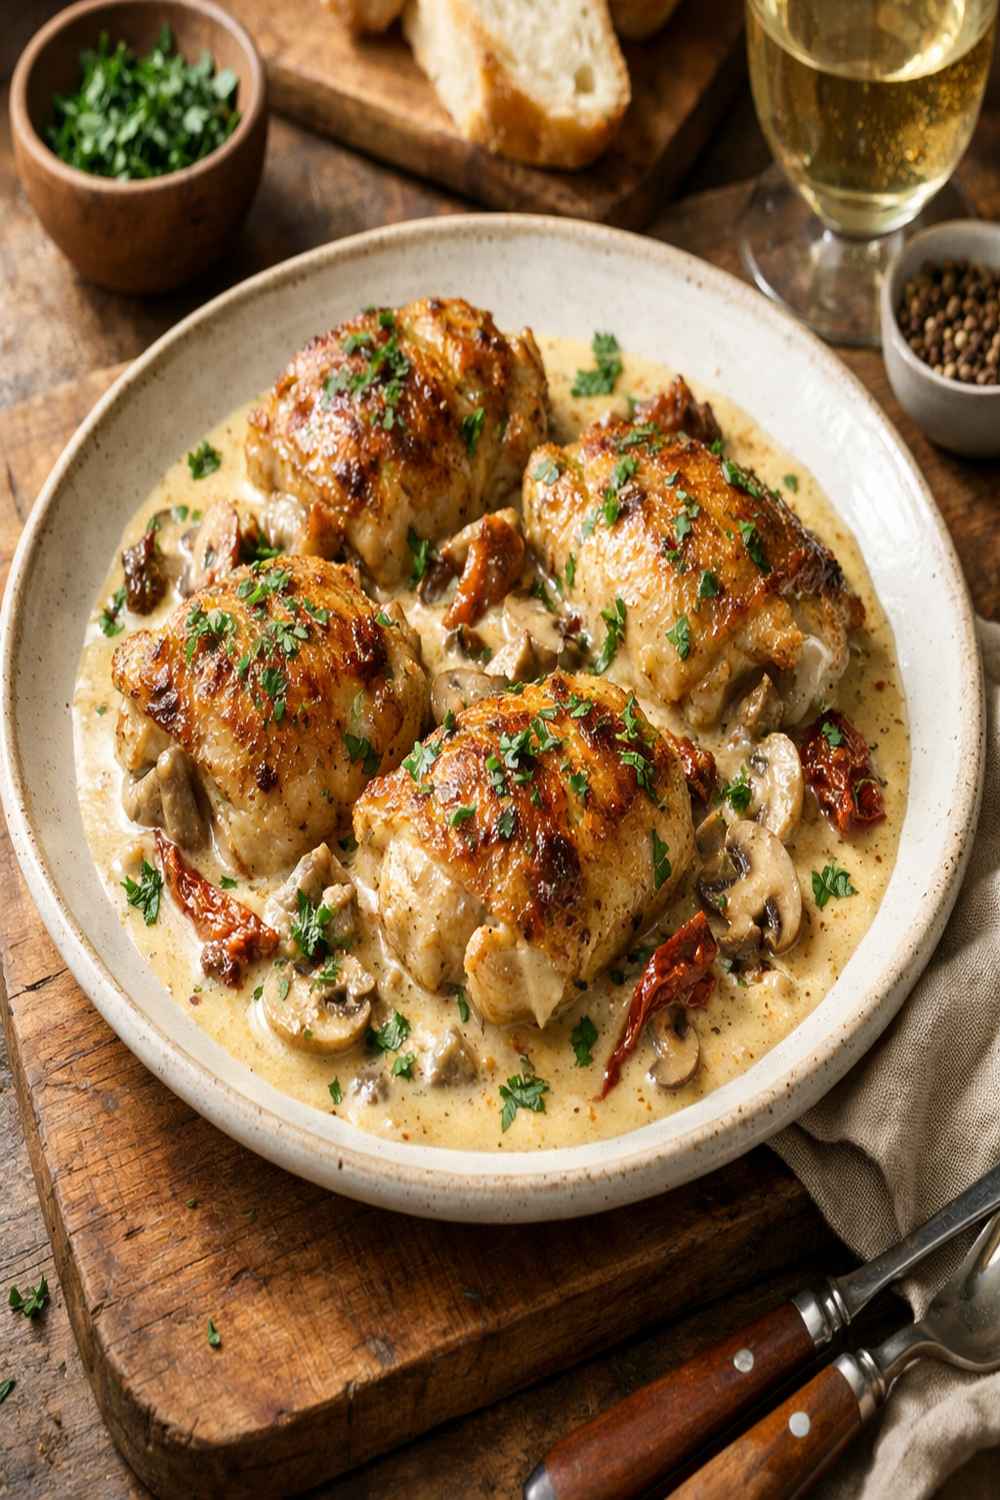

Ingredients
Method
Step 1: Prepare Your Chicken for Maximum Crispiness
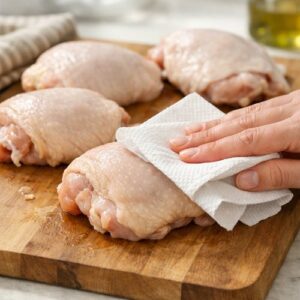
- Take your chicken thighs out of the package and pat them completely dry with paper towels. This is non-negotiable for crispy skin. Any moisture on the surface will steam instead of sear, and you'll miss that golden, crunchy exterior that makes this dish sing. I spend a full 30-45 seconds on each thigh, really pressing that moisture away. Here's the pro move: while your chicken rests briefly, this allows the surface to dry even more completely. Restaurants often do this step hours in advance, but 5 minutes on your counter is enough.
Step 2: Season With Purpose and Strategy
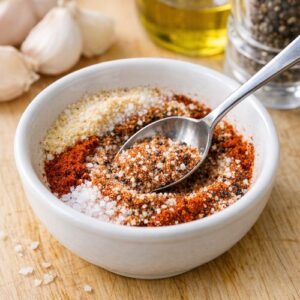
- In a small bowl, combine the garlic powder, onion powder, smoked paprika, kosher salt, and cracked black pepper. Mix these together before applying rather than seasoning directly from different containers. This ensures every piece of chicken gets the exact same flavor profile. Now, and this matters: season both sides generously, but focus more of your seasoning on the skin side. The skin will render fat and concentrate flavors, so the seasoning adheres and intensifies. Use your fingertips to really rub the seasoning in, almost massaging it into the meat. This isn't just coating—you're creating flavor adhesion. Let the seasoned chicken sit on a clean plate for about 2-3 minutes. This allows the salt to begin its work on the protein structure, which helps retain juices during cooking.
Step 3: Achieve the Perfect Sear
- Heat a large cast-iron skillet over medium heat for 2 full minutes. This is when I test the temperature by sprinkling a drop of water on the surface—it should sizzle immediately and evaporate within 2 seconds. If it sits, your pan isn't hot enough yet. Add the olive oil and let it heat for exactly 30 seconds more. You want the oil shimmering but not smoking. Now, very carefully place your chicken thighs skin-side down into the hot skillet. Do not touch them for 7-8 minutes. I mean this. The restaurant secret is patience. Your instinct will be to move them, flip them, check on them. Resist. The skin needs continuous, direct heat to render its fat and develop that beautiful golden color. Moving them interrupts this process completely.
Step 4: Flip and Finish Cooking Through
- After 7-8 minutes, the skin should be golden brown and crispy. Use tongs to flip each thigh carefully. Now, you're looking for the internal temperature to reach 165°F. This typically takes 15-20 more minutes, depending on the thickness of your chicken. The beauty of thighs? They're forgiving. The fat content means they stay juicy even if you hit 170°F, unlike white meat which becomes dry at that temperature. Use an instant-read thermometer inserted into the thickest part of the thigh without touching bone. This is the most accurate method and takes all the guesswork out. Transfer the cooked chicken to a clean plate and tent loosely with foil to keep warm while you make the sauce. This resting period (about 5 minutes) allows the residual carryover cooking to finish and the juices to redistribute throughout the meat.

Step 5: Build the Pan Sauce With Technique
- This is where the magic happens. In the same skillet you used for the chicken (don't wash it—all those browned bits are pure flavor gold), reduce heat to medium and add the butter. As it melts, add the minced shallot immediately. Cook for exactly 1 minute, stirring constantly. The shallot should become fragrant and slightly translucent but not brown. If it's browning, your heat is too high—lower it immediately. Add the minced fresh garlic and cook for another 15-20 seconds, until your kitchen smells amazing and the garlic is just beginning to turn golden. Now, pour in the chicken broth, fresh lemon juice, and add the thyme sprigs and red pepper flakes. Increase heat to medium-high and bring this mixture to a simmer. Let it bubble for 2-3 minutes. This accomplishes two things: it reduces the broth slightly, concentrating flavors, and it infuses the thyme into every drop.

Step 6: Finish With Cream and Emulsion
- Reduce heat to low—this is critical. Pour in the heavy cream in a slow, steady stream while stirring constantly with a wooden spoon. Never let the sauce boil once cream is added. High heat can break the emulsion, causing the sauce to separate or curdle. Stir occasionally for about 5 minutes. Watch as the sauce transforms—it becomes silky, glossy, and slightly thickened. If it seems too thin, continue simmering for another 1-2 minutes. The sauce should coat the back of a spoon lightly. Taste and adjust seasoning. Add a pinch more salt if needed, or a squeeze of lemon if it feels too rich. Remove the thyme sprigs.

Step 7: Bring It All Together
- Return the rested chicken thighs to the skillet, nestling them into that beautiful cream sauce. Spoon some sauce over the top of each piece. Let everything warm together for 1-2 minutes over low heat. Transfer to serving plates or a beautiful serving platter, making sure each piece gets a generous pour of sauce. Garnish with freshly chopped parsley—not just for looks, but for a bright, herbaceous flavor that makes people close their eyes and appreciate every bite.

Notes
- Not patting the chicken dry - I see this constantly. Any moisture prevents crispy skin development. Spend the extra 30 seconds. It's the difference between good and restaurant-quality. If your chicken isn't getting crispy, moisture is 95% of the time the culprit.
- Moving the chicken during the sear - Your chicken is cooking beautifully, but you won't see it. The pan is hot, the skin is rendering. Trust the process. Flipping too early means no crispy skin. I set a timer and literally don't touch the pan for 7-8 minutes.
- Adding cream at high heat - This is how you break the sauce. High heat causes the cream to separate, giving you an ugly, broken texture. Low heat, gentle movement, and patience create that silky emulsion. If you're ever unsure, reduce heat by half.
- Over-seasoning the pan sauce - Remember that the chicken is already seasoned, and it releases salt into the pan. Taste the sauce before adding more salt. You can always add more, but you can't remove it. Add salt in small pinches, taste, then decide.