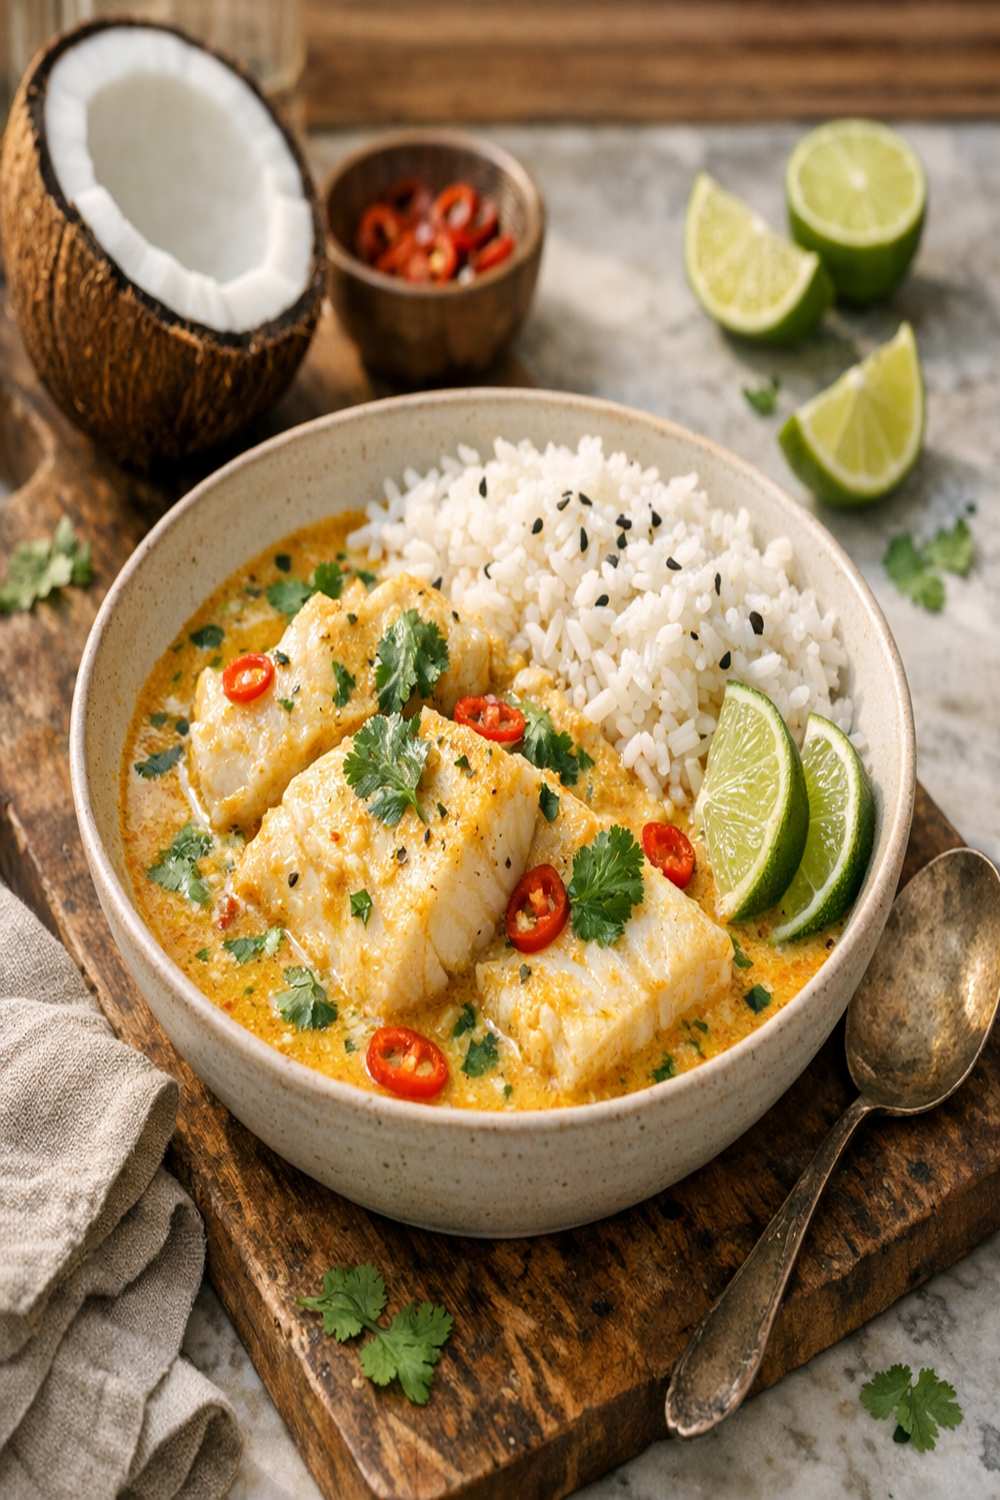

Ingredients
Method
Step 1: Pat and Season Your Fish Like a Professional
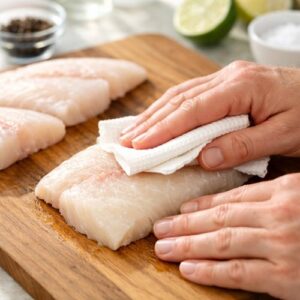
- Remove your fish from the refrigerator 10 minutes before cooking—this helps it cook more evenly. Pat each fillet completely dry with paper towels, pressing gently to remove surface moisture. Moisture is the enemy of a good sear, and that golden-brown crust is where so much flavor develops. Divide the fillets into three batches (this prevents overcrowding and gives you better browning). Season each batch lightly with salt, then drizzle with just 1 tablespoon of oil per batch. The oil should shimmer when it hits the pan.
Step 2: Sear for Color, Not Cooking
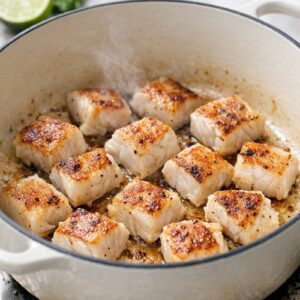
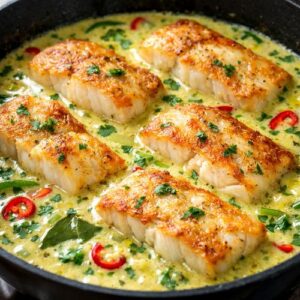
- Heat your largest pan (I use a 5-quart Dutch oven for batch cooking) over medium-high heat until it's genuinely hot—you should feel the heat radiating when you hold your hand 6 inches above it. Sear each batch of fish for 2-3 minutes per side until golden brown, working in stages so you don't crowd the pan. This isn't about cooking the fish through; it's about creating a flavorful crust. Remove each batch to a clean plate. You'll finish cooking the fish in the curry sauce, which keeps it impossibly tender.
Step 3: Build Your Flavor Foundation With Aromatics
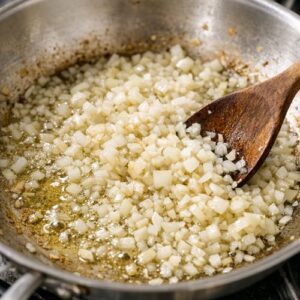
- In the same pan (don't wash it—those golden bits are pure flavor), add 2 tablespoons of oil over medium heat. Add all your minced onions and cook for about 3-4 minutes, stirring occasionally until they're soft and just starting to turn translucent. Add your crushed garlic and minced ginger, stirring constantly for about 1 minute. You're looking for that moment when the whole kitchen smells incredible—that's your signal that the aromatics are releasing their essential oils and you're ready for the next step.
Step 4: Toast the Curry Paste to Deepen the Flavor
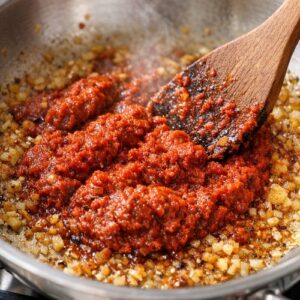
- Add all 9 tablespoons of Thai red curry paste directly to your aromatic mixture. This is where people often rush, but cook the paste for 2-3 minutes, stirring frequently, until it darkens slightly and becomes incredibly fragrant. This toasting step is what separates a good curry from a restaurant-quality curry. You're essentially blooming the spices and releasing their full potential. The paste should look like it's starting to stick to the pan—that's exactly what you want.
Step 5: Add the Coconut Milk and Create Your Sauce
- Pour in both cans of coconut milk slowly while stirring. Use a wooden spoon to scrape up all those flavorful browned bits stuck to the bottom of the pan (this is called deglazing, and it's how you capture all that developed flavor). Add the fish sauce, brown sugar, and a teaspoon of salt. Stir everything together until completely combined.

Step 6: Simmer and Let Flavors Marry
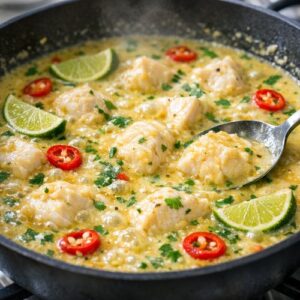
- Bring the sauce to a gentle simmer over medium heat. Let it bubble softly for 8-10 minutes, stirring occasionally. You'll notice the sauce thickening and becoming more cohesive. The coconut cream will often separate slightly from the liquid—this is completely normal and actually creates a more luxurious texture. The sauce should reduce slightly and look noticeably thicker than when you started.
Step 7: Return the Fish and Finish Cooking
- Carefully nestle all your seared fish fillets into the simmering curry sauce. Cook for 2-3 minutes over medium heat, which gently brings the fish through to completion while it absorbs all the coconut-lime flavors. The fish will be delicate and flake easily with a fork when it's ready. Taste the sauce now and adjust your seasoning—add more salt if needed, more lime juice if you want brightness, or more curry paste if you want more heat.
Step 8: Finish With Fresh Herbs and Chill for Storage
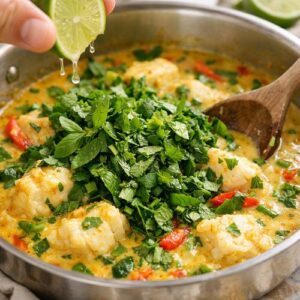
- Remove from heat and stir in all your fresh herbs and the lime juice. This final addition of fresh basil, cilantro, and mint is what makes this curry taste alive and bright rather than heavy. Let the curry cool to room temperature (about 20 minutes) before portioning into meal prep containers. This cooling step prevents condensation from forming, which would make your containers soggy and introduce excess moisture.
Notes
- Skipping the fish dry step — This is the most common mistake I see, and it absolutely tanks your sear. Wet fish releases steam instead of browning, and you end up with pale, steamed fillets instead of golden, flavorful ones. Spend 60 seconds patting your fish dry. It's the difference between a good curry and a great one.
- Crowding the pan while searing — I know it's tempting to try to sear all your fish at once to save time, but you're actually costing yourself time and quality. Crowded fish steams instead of searing, and you end up searing for longer anyway. Work in three batches. It's faster and better.
- Cooking the curry paste for less than 2 minutes — The toasting step is where the magic happens. This is where the spices bloom and deepen. If you skip this or rush it, you'll have a curry that tastes one-dimensional and thin. Give it time.
- Adding fresh herbs while the curry is still hot — If you stir herbs into boiling curry, they'll wilt and turn dark, losing their brightness and fresh flavor. Always add them at the very end, after you've turned off the heat. This is the difference between a curry that tastes alive and one that tastes muddled.