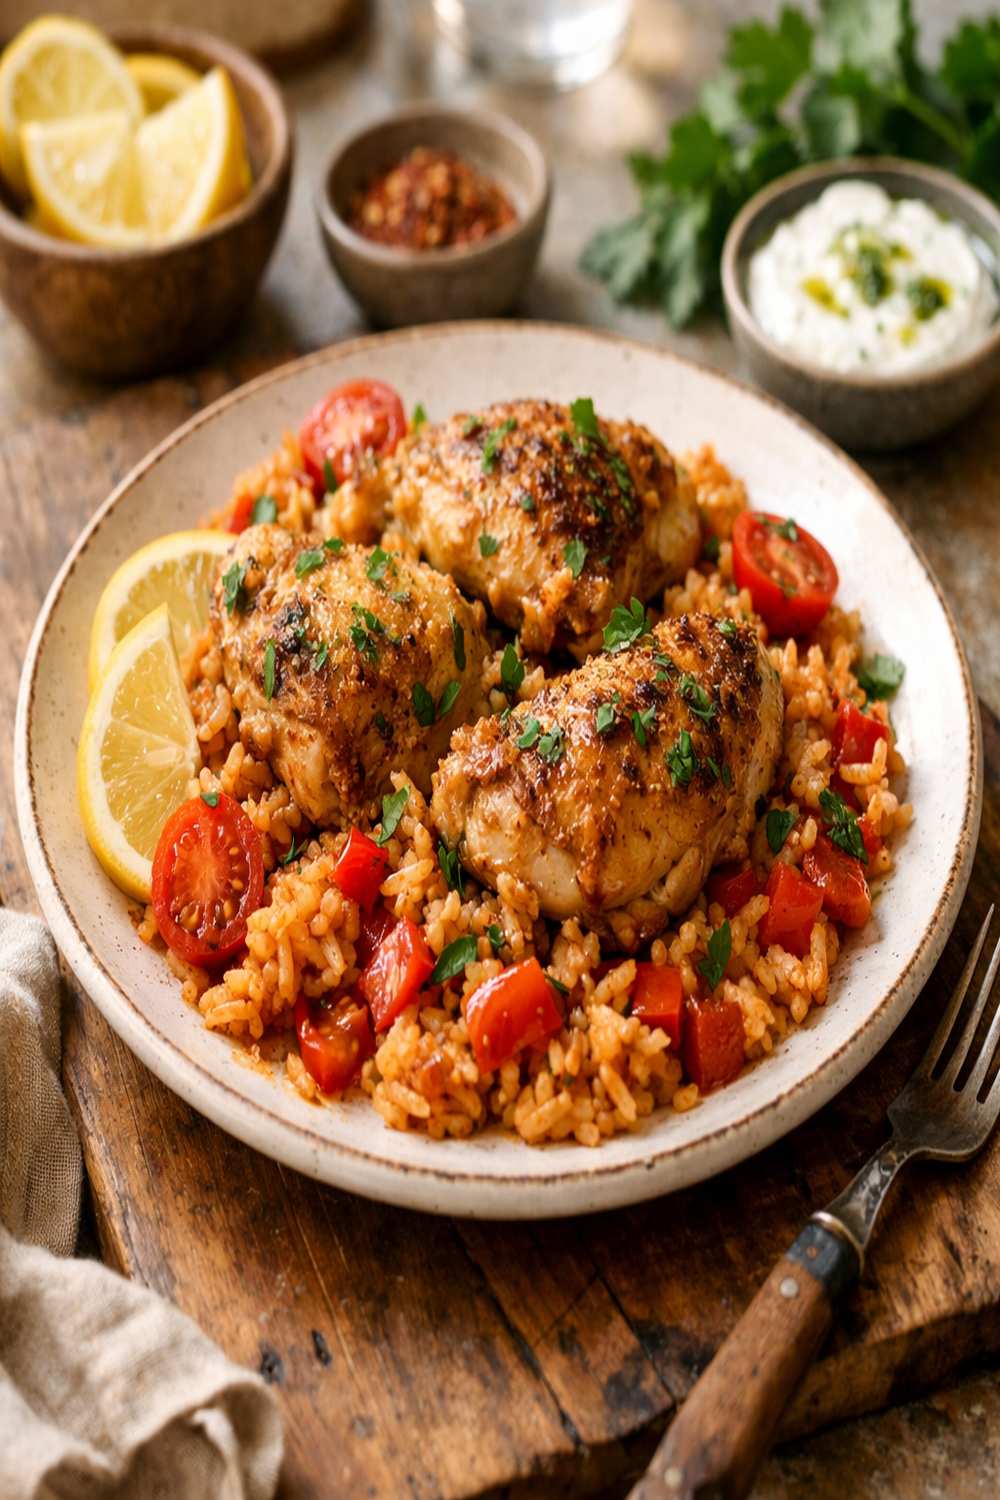

Ingredients
Method
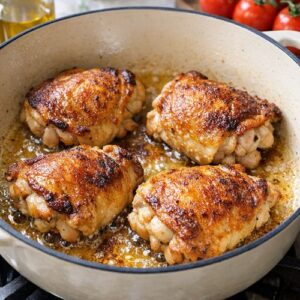
Step 1: Build a Golden Crust on the Chicken
- This step is non-negotiable. Heat your largest sauté pan or Dutch oven over medium-high heat. Add 2 tablespoons of olive oil and let it heat for about 60 seconds—you want it shimmering and hot, not smoking. Working in batches if needed (don't crowd the pan, or the chicken will steam instead of sear), add your chicken pieces and let them sit undisturbed for 2-3 minutes on each side. This is where the Maillard reaction happens—that golden-brown crust that tastes impossibly savory. Resist the urge to move it around. Once deeply golden on two sides, transfer to a plate. Don't worry about cooking it through; it will finish cooking in the next steps. Pro tip from my clinical background: chicken thighs contain more connective tissue than breast meat, which converts to gelatin during cooking. This is why restaurant versions feel more luxurious—the gelatin creates a silky mouthfeel that plain breast meat just can't achieve.
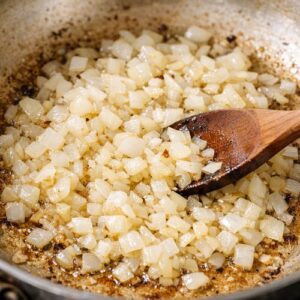
Step 2: Create Your Aromatic Base
- In the same pan (don't clean it!), reduce heat to medium and add your diced onion. Let it cook for about 3-4 minutes, stirring occasionally, until it becomes translucent and starts to stick slightly to the bottom of the pan. This is when you add your minced garlic. Cook together for another 60-90 seconds until the garlic becomes fragrant—you'll smell it clearly. This is the moment to stop. Overcooked garlic becomes bitter, and we're building elegance here.
Step 3: Deglaze and Deepen Flavor
- Pour in your 1 cup of white wine. Use a wooden spoon to scrape the bottom of the pan—this is deglazing, and it's where you lift all those browned, flavorful bits into your liquid. These are concentrated flavor compounds that will distribute throughout your entire dish. Let the wine reduce by about half (you'll see it visibly decrease), which takes about 3-4 minutes. The liquid should look slightly thicker and more concentrated. This reduction concentrates the wine's flavor and allows some of the alcohol to cook off.
Step 4: Add Rice and Toast Briefly
- Add your 2½ cups of rice directly to the pan. Stir constantly for about 2 minutes. You want every grain coated in the oil and wine mixture, and you want a slight toast to develop. This toasting adds a subtle nuttiness that keeps the rice from tasting one-dimensional.
Step 5: Build the Braising Liquid
- Add your 3 cups of chicken stock all at once, along with the can of diced tomatoes (juice and all), the tomato paste, and about ¼ cup of your fresh basil leaves (chopped). Season generously with sea salt and cracked pepper. Stir everything together until well combined. This is your second seasoning opportunity—taste and adjust now before the liquid reduces. The flavor will concentrate as the rice cooks, so be slightly aggressive with seasoning at this stage.
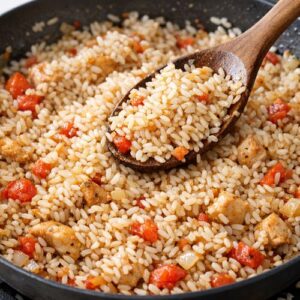
Step 6: Return the Chicken and Simmer
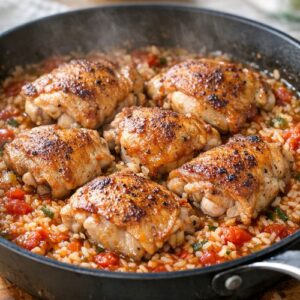
- Nestle your browned chicken pieces on top of the rice mixture—don't stir it in. By placing it on top, the chicken cooks gently in the steam and stays moist. Cover the pan with a lid (if you don't have one, heavy foil works), reduce heat to medium-low, and let it simmer undisturbed for 15-20 minutes. The rice will absorb all the liquid, and the chicken will cook through gently. At 15 minutes, lift the lid and check if the liquid is absorbed. The rice should be tender but not mushy, and you shouldn't see liquid pooling in the bottom. If there's still liquid and the rice isn't tender, recover and cook another 2-3 minutes.
Step 7: Finish with Fresh Elements
- Remove from heat. Let it sit covered for 2-3 minutes (this is called carryover cooking and allows the rice to finish setting). Remove the lid, taste, and adjust seasoning with the lemon juice and additional salt and pepper as needed. The lemon is crucial—it cuts through the richness and makes everything feel fresh and balanced, even though you're making it on a weeknight. Garnish with remaining fresh basil and freshly grated Parmesan cheese. Serve immediately.
Notes
- Crowding the Pan When Browning Chicken - if you have too much chicken in the pan at once, the temperature drops, and you get steamed chicken instead of seared chicken. Work in batches. It takes an extra 3 minutes, but it makes all the difference between restaurant-quality and mediocre.
- Skipping the Deglazing Step - I know it seems simple, but people often skip this because they don't understand why it matters. That browned material stuck to the bottom is concentrated flavor. When you deglaze with wine, you're dissolving it into your liquid and distributing it throughout the entire dish. Skip this, and your finished dish tastes flat.
- Under-Seasoning the Braising Liquid - home cooks are often terrified of salt. But seasoning properly at the liquid stage is crucial. Taste it before covering the pan. It should taste noticeably salty—more than you'd eat on its own. As the liquid reduces, that seasoning concentrates.
- Opening the Lid Too Often - this is the biggest culprit for uneven cooking. Every time you open the lid, you lose steam and the temperature drops. The rice won't cook evenly. Set a timer, trust the process, and don't peek until 15 minutes have passed.