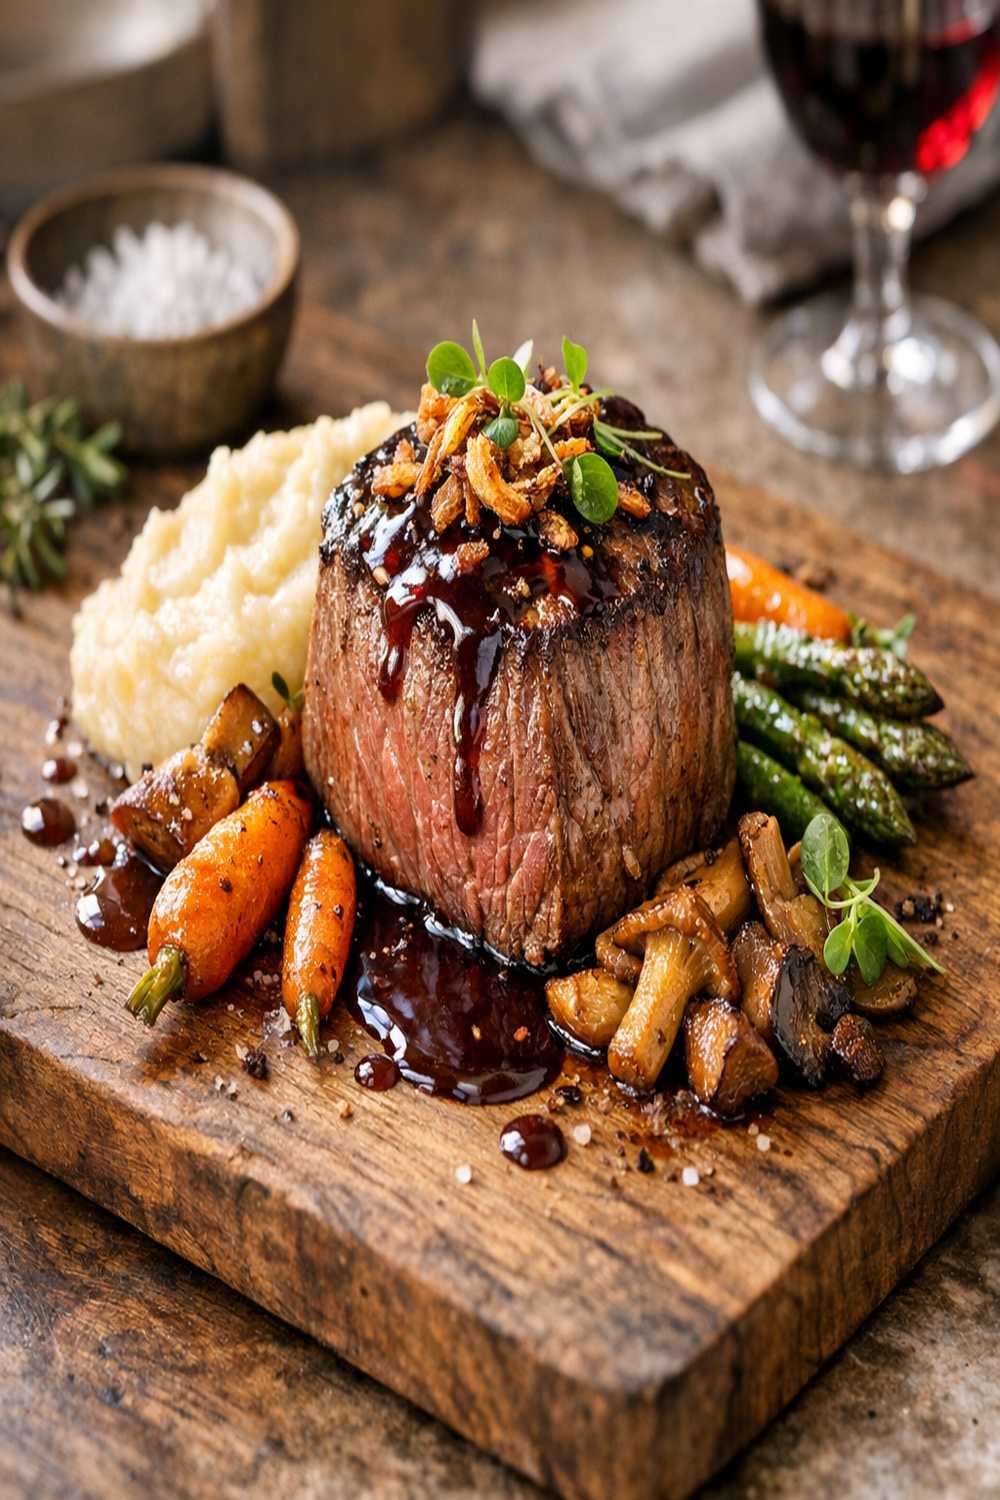

Ingredients
Method
Step 1: Prepare Your Beef for Even Cooking (Optional But Recommended for Best Results)
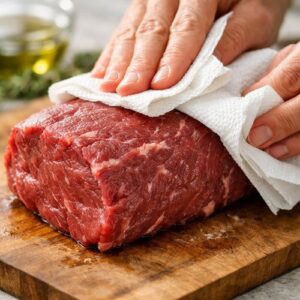
- Pat your beef tenderloin completely dry with paper towels — this is crucial for creating that beautiful mahogany sear. Any moisture on the surface will steam instead of brown. Sprinkle salt and pepper generously all over the beef, making sure every surface gets seasoned. Place it on a wire rack set over a baking sheet and refrigerate uncovered for 12 to 24 hours. Why? I know this seems like an extra step, but here's the science: when beef sits uncovered in the fridge, the surface dries out slightly and the salt begins to dissolve and penetrate the meat. This creates more even seasoning and, crucially, that beautiful, even brown crust you see on restaurant-quality beef. If you're short on time, you can skip this, but trust me — your crust will thank you if you don't.
Step 2: Remove Beef From Refrigeration and Let It Come to Temperature
- This is where patience rewards you with perfect doneness. Remove your beef from the refrigerator exactly 2 hours before you plan to cook it. I set a timer on my phone so I don't forget. Cold meat cooks unevenly — the outside gets overdone before the inside reaches temperature. When beef comes to room temperature, it cooks evenly throughout, giving you that perfect rose-pink center. While it's coming to temperature, prep everything else: make your herb butter, slice your mushrooms, gather your liquids. In my experience, mise en place (having everything ready) is what separates stressed cooking from joyful cooking.
Step 3: Create Your Herb Butter Mixture
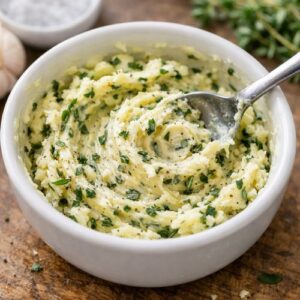
- In a small bowl, combine softened unsalted butter, finely grated garlic, finely chopped fresh thyme, salt, and pepper. Mix until well combined — you want an even distribution of herbs throughout. This is going to become the glossy, golden coating that makes your beef look restaurant-quality. Set it aside at room temperature so it stays spreadable. Pro tip from my kitchen: if your butter is too soft, it'll melt immediately when it hits the hot beef and you'll lose that beautiful coating. If it's too cold, it won't spread evenly. Room temperature is your sweet spot.
Step 4: Sear the Beef Until It's Gorgeously Browned
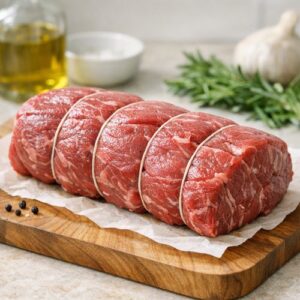
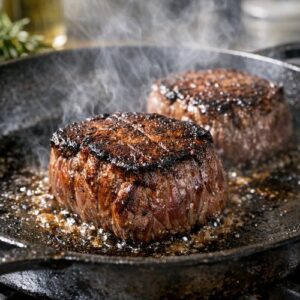
- Heat vegetable oil in an oven-safe, heavy-based pan (cast iron or stainless steel work beautifully) over high heat until it's just beginning to smoke. You want it hot enough that the beef sizzles aggressively the moment it hits the pan. This is non-negotiable for that beautiful crust. Place your beef in the pan and let it sit for about 2 minutes without moving it. Resist the urge to poke it or move it around — that first contact creates the brown crust. Then brown all sides aggressively: top, bottom, and all four long sides. Total searing time is usually 8-10 minutes for a properly sized center-cut tenderloin. You're looking for deep mahogany brown on every surface. Once it's beautifully seared, place it on a clean wire rack and let it cool for 15 minutes. This cooling period is important: if you slather butter on the screaming-hot beef, it'll immediately melt and slide off. You want it to coat and adhere.
Step 5: Preheat Your Oven to the Perfect Temperature
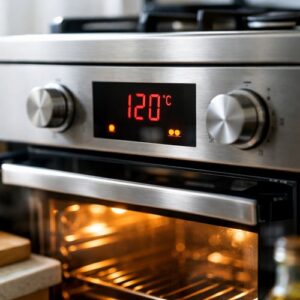
- While your beef is cooling, preheat your oven to 120°C (250°F). This low, gentle heat is key to cooking beef tenderloin perfectly. Think of it this way: you've already created the flavorful crust with your sear. Now you're gently bringing the interior to perfect medium-rare without overcooking the exterior. Works for both fan and conventional ovens.
Step 6: Apply the Herb Butter and Begin Roasting
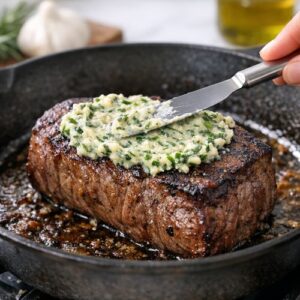
- Place your cooled beef back in the same pan (no need to wash it — those browned bits are pure flavor). Using a butter knife or small spatula, spread about three-quarters of your herb butter onto the top and sides of the beef. Be generous — this is what creates that golden, glossy, appetizing finish that makes people reach for their cameras before they reach for their forks. Place the pan in your preheated oven and roast for 15 minutes. After 15 minutes, carefully remove the pan (it's hot!), turn the beef if needed, and spread the remaining herb butter onto the top and sides. Continue roasting for another 25 to 35 minutes. You're looking for an internal temperature of 53°C (127°F) for perfect medium-rare. Use an instant-read thermometer — this is your most important tool. Insert it into the thickest part of the beef without touching bone or the pan.
Step 7: Rest Your Beef (This Step Changes Everything)
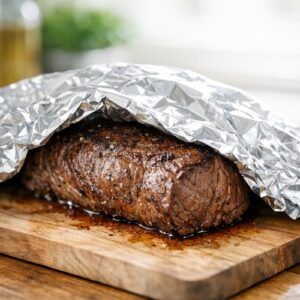
- Remove your beef from the oven and place it on a cutting board. Do NOT skip the resting period — I cannot stress this enough. Cover it loosely with foil and let it rest for 10 minutes. During this time, the internal temperature will rise to 56-58°C (133-136°F) — perfect medium-rare. More importantly, resting allows the juices to redistribute throughout the meat. If you slice immediately, all those delicious juices run out onto your plate instead of staying in the beef. When you rest it, those juices stay locked in, and your beef stays incredibly tender and juicy. This is the difference between good beef and spectacular beef.
Step 8: Make Your Creamy Mushroom Sauce While Beef Rests
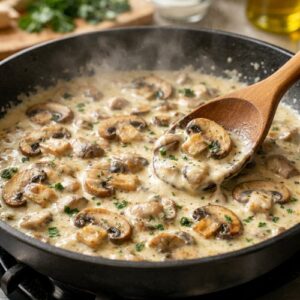
- While your beef rests, let's create the sauce that takes this dish from impressive to absolutely unforgettable. Heat a separate pan over medium-high heat. Add a drizzle of oil and sauté your sliced mushrooms until they're golden and any released liquid has mostly evaporated. This takes about 5-6 minutes and creates deeper, richer mushroom flavor and color. Add minced garlic and a fresh thyme sprig, stirring for about 30 seconds until fragrant. Pour in your marsala wine and let it reduce by half — this concentrates the flavor and creates that deep, wine-colored base for your sauce. This takes about 3-4 minutes. Add your chicken stock and let that reduce slightly, about 2 minutes. Then lower heat to medium and stir in your heavy cream. Let it simmer gently for 2-3 minutes until slightly thickened and beautifully pale ivory in color. Taste and adjust seasoning with salt and pepper. If you want it thicker, simmer a bit longer. If it's too thick, add a splash more stock.
Step 9: Slice Your Beef and Arrange on Plates
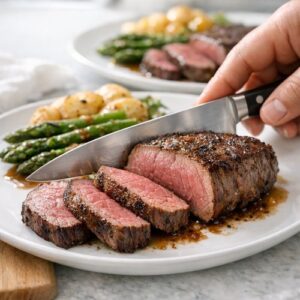
- Using a sharp knife, slice your rested beef into thick slices — about 1.5 centimeters (¾ inch) thick. Thick slices look more luxurious and showcase that beautiful pink interior better than thin slices. Arrange slices slightly overlapping on your plates, leaning them against each other to create height and visual interest. This isn't flat plating — you're creating dimension that makes the dish look restaurant-quality.
Step 10: Plate Your Sauce and Final Garnish
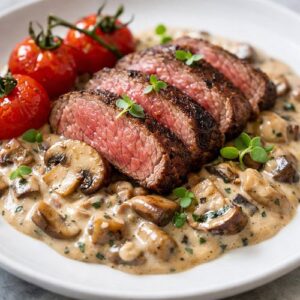
- Spoon your creamy mushroom sauce around (not over) the beef slices, leaving some of the beautiful beef visible. The sauce should complement, not hide, your gorgeous protein. Garnish with fresh parsley and a single thyme sprig if you'd like. Serve immediately while everything is warm.
Notes
- Shoot Within 2 Minutes of Plating — This dish is most beautiful when everything is still steaming slightly and the beef is at peak color. The longer it sits, the more the juices darken the plate and the beef begins to cool. I always have my phone or camera ready before I plate the final dish. Good lighting matters more than a fancy camera.
- Use Natural Window Light From the Side — Position your plate so natural light hits it from a 45-degree angle. This illuminates the beautiful layers of the beef, makes the sauce look glossy and luxurious, and creates shadows that add dimension. Harsh overhead light washes out the beautiful pink color. Soft, directional light is your friend.
- Shoot Slightly Above the Plate (30-45 Degree Angle) — This angle shows off the height you've created with your stacked beef slices and lets the sauce be visible without obscuring the beef. It's the most flattering angle for this particular dish. Play with 30 degrees for a more dramatic view or 45 degrees for a classic food photography look.
- Use a Plain, Contrasting Background — A white, cream, or dark gray plate shows off your beef beautifully. Busy backgrounds distract from your gorgeous main course. I use simple ceramic plates or even a white tile as my background. The simpler your background, the more stunning your beef looks.
- Capture the Sauce Movement — If you're plating on camera or taking a video, capture the moment you spoon that creamy sauce around the beef. The glossy, luxurious movement of the sauce is incredibly appetizing and suggests flavor and richness that makes viewers almost able to taste it.