
Banana Oat Pancake Recipe
 By
By This post contains affiliate links. As an Amazon Associate I earn from qualifying purchases.
Banana Oat Pancake Recipe (Ready in 30 Minutes!)
Before you throw those overripe bananas away, turn them into something even better. This Banana Oat Pancake Recipe was born from exactly that moment—standing in my kitchen as a registered dietitian, watching my mother’s cooking wisdom meet modern nutrition science. Those spotted bananas aren’t a sign of waste; they’re actually at their sweetest, most flavorful peak. I realized I could create something nourishing, energizing, and utterly delicious in under 30 minutes. Like my grandmother always said, the best meals come from working with what you have.
How to Transform Those Overripe Bananas Into Fluffy Banana Oat Pancakes (Better Than You’d Expect)
I still remember the exact morning this recipe came alive for me. My kids had rejected banana bread for the third time that week, and I had two perfectly ripe bananas sitting on my counter. My mother had taught me that the best cooking happens when you stop fighting what’s in front of you and start dancing with it instead. That morning, I grabbed eggs from the fridge, oats from the pantry, and decided to blend instead of bake. Within 20 minutes, I had golden, fluffy pancakes on the griddle, and my entire family was asking for seconds. That’s when I knew—this wasn’t just a recipe, this was a game-changer for busy families who want real nutrition without the complexity.
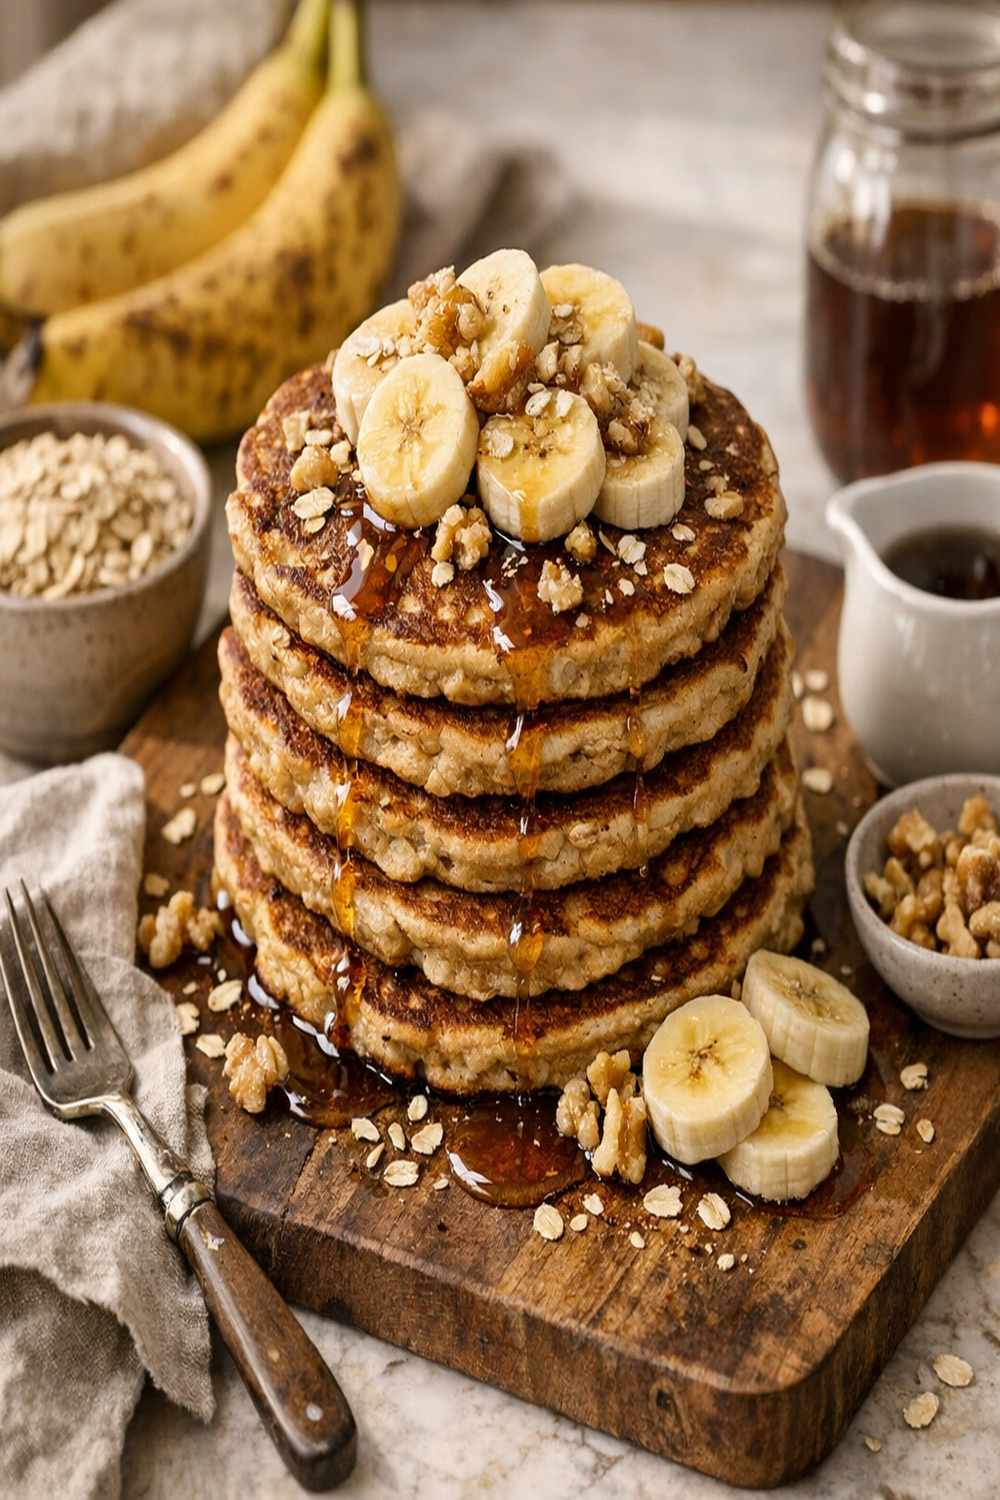
What Bananas Work Best
As a dietitian, I’ve learned that timing matters with bananas. The ripeness of your banana directly impacts both the sweetness and the nutrition of these pancakes. Let me guide you through what works beautifully for this transformation.
- Overripe bananas with brown spots – These are absolutely perfect. The natural sugars have concentrated, so you’ll need less added sweetener. The starches have converted to simple sugars, making them easier to digest. This is your sweet spot.
- Perfectly yellow bananas – These work wonderfully too, though you might want to add a tiny drizzle of honey or maple syrup to your batter. They have great texture and mild flavor.
- Bananas that are still slightly green – Skip these for this recipe. They contain resistant starch that won’t blend smoothly and can create a grainy texture. Save them for smoothie bowls or eat them fresh instead.
The Transformation Pantry: What to Keep on Hand
The magic of this recipe lives in three simple pantry staples that I always keep stocked. These are my bridge ingredients—the items that turn whatever you have into something restaurant-quality. Rolled oats are your texture hero, creating that subtle nuttiness and binding everything together. Eggs are your structure, giving these pancakes lift and protein without any fancy techniques. Baking powder is your secret weapon—just a tiny amount creates fluffy, tender pancakes that rival anything from a traditional flour-based recipe. When you keep these three items in your kitchen at all times, you’re never more than 30 minutes away from a nutritious, delicious breakfast.
The Ingredients
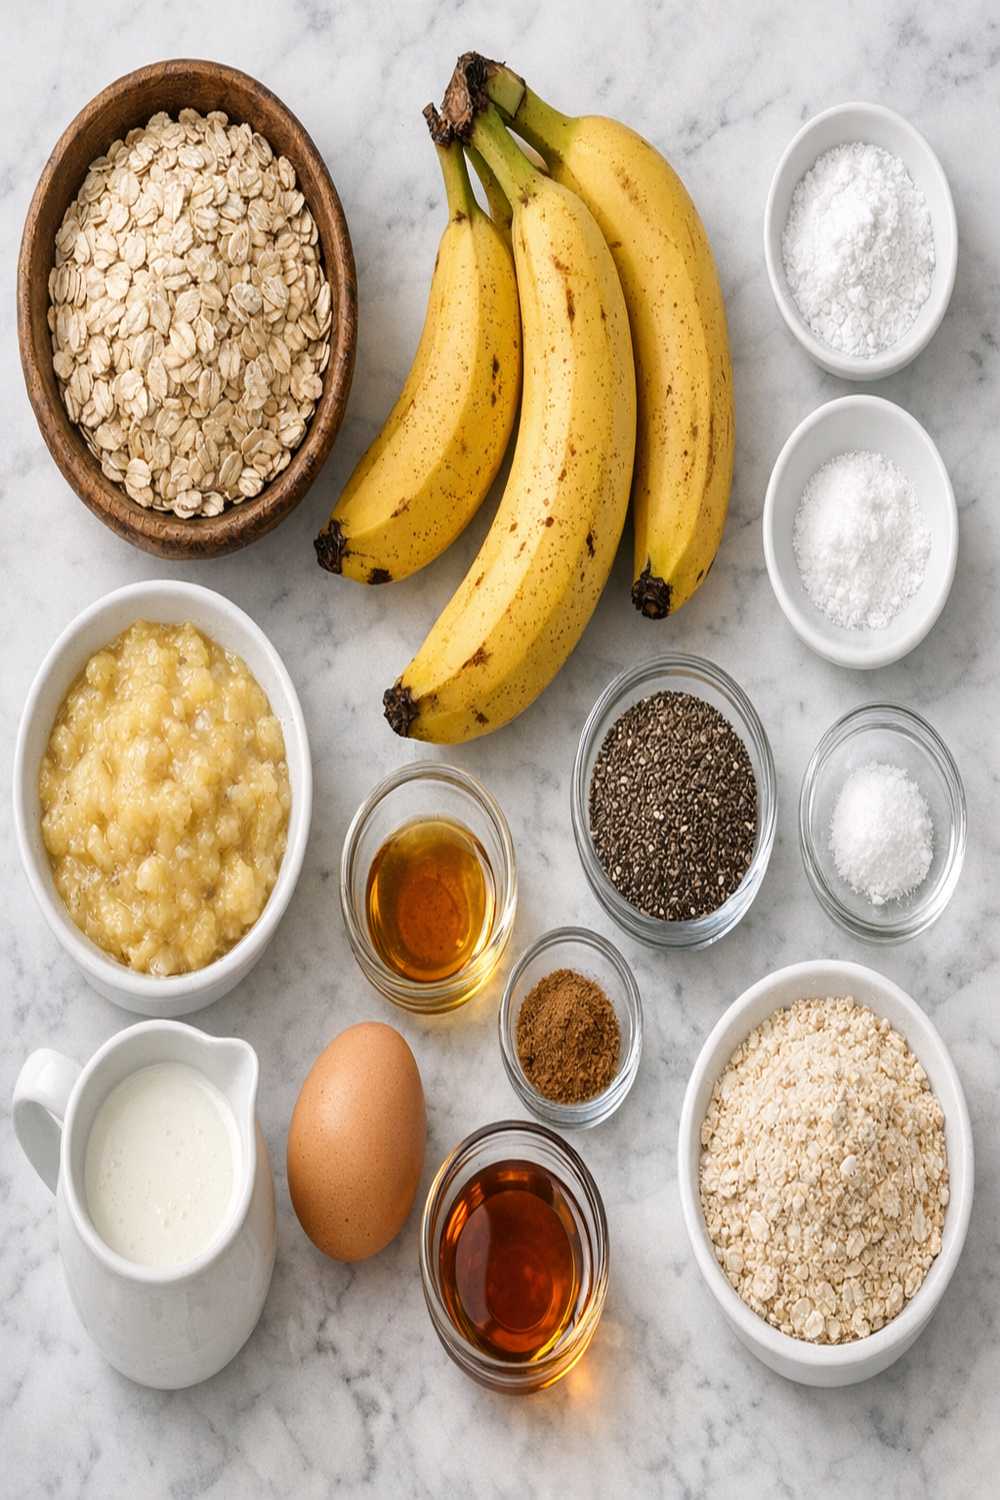
I’ve built this recipe around resourcefulness and nutrition. These ingredients work together to create pancakes that are naturally sweet, protein-rich, and surprisingly light. No complicated techniques, no specialty items—just whole foods doing what they do best. This recipe makes about 12 to 16 small pancakes, depending on your griddle size and how generous you pour.
- light cooking spray or 1 teaspoon coconut oil (for the griddle)
- ½ cup rolled oats (old-fashioned, not instant, for better texture and fiber)
- 2 ripe bananas (preferably with brown spots for natural sweetness)
- 2 large eggs (room temperature blends more smoothly)
- 1 teaspoon pure vanilla extract (optional but transforms the flavor profile)
- pinch of fine sea salt (enhances flavor and balances sweetness)
- ½ teaspoon baking powder (aluminum-free if you’re sensitive)
The Transformation: How to Make Banana Oat Pancakes in 30 Minutes
This is where the everyday becomes extraordinary. What you’re about to do is simple alchemy—taking five basic ingredients and turning them into something that tastes indulgent but fuels your body with real nutrition. Every step is designed to work with your ingredient’s natural properties, not against them.
Step 1: Peel and Prepare Your Bananas
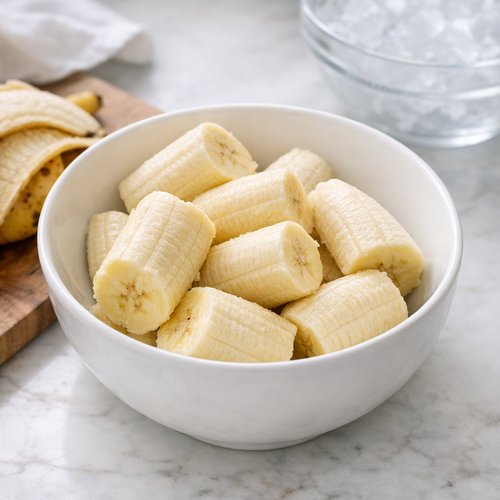
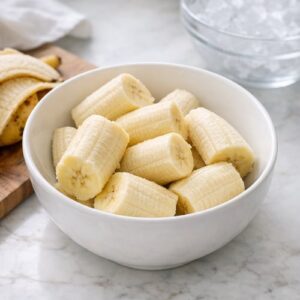
Start by peeling your bananas and breaking them into 3 to 4 chunks. If your bananas are very soft or warm, pop them in the freezer for just 5 minutes while you gather your other ingredients. This temperature control makes blending easier and creates a fluffier final pancake. I learned this trick from watching how professional kitchens work with fruit—temperature consistency matters for texture.
Step 2: Combine Everything in Your Blender
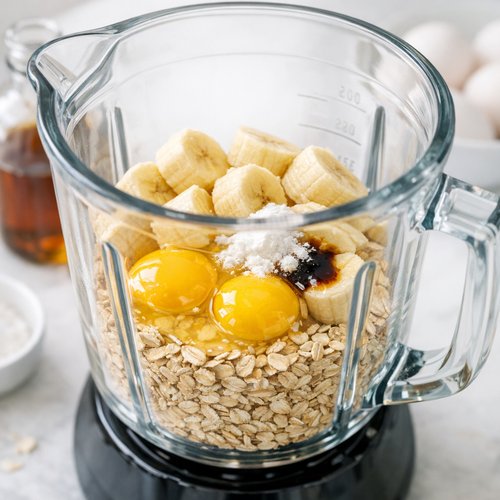
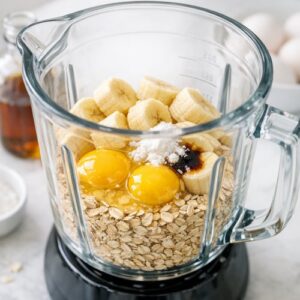
Pour your rolled oats into the blender first, followed by the banana chunks, eggs, baking powder, salt, and vanilla extract if using. The order matters here—oats on the bottom prevents them from clinging to the sides of the blender jar. This is a technique I use constantly in my nutrition counseling when helping families simplify their cooking process.
Step 3: Blend Until Smooth (But Not Over-Processed)
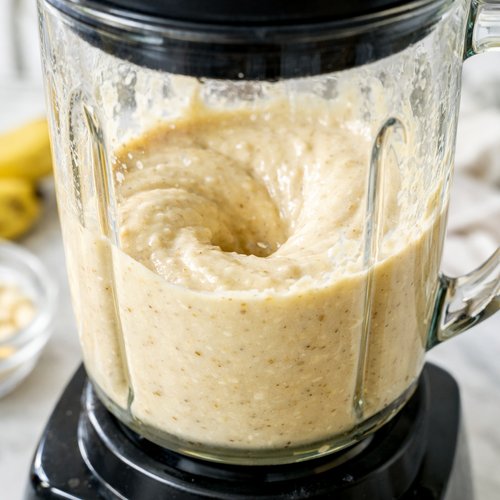
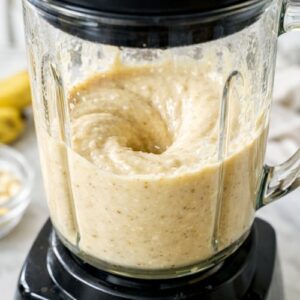
Start your blender on low speed, then gradually increase to medium-high. You’re aiming for a consistency that’s smooth like thick pancake batter, but you still want to see tiny flecks of oat throughout. Don’t over-blend—about 45 to 60 seconds is your sweet spot. This preserves some texture and prevents the oats from turning into flour, which can make your pancakes dense instead of tender.
Step 4: Let the Batter Rest
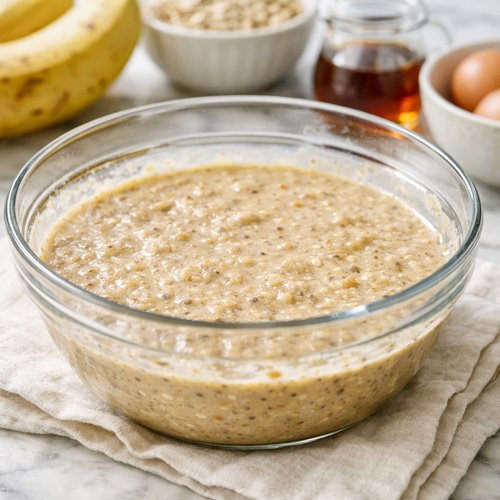
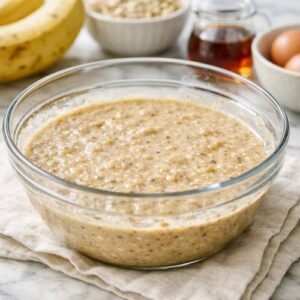
This is the step most people skip, and it’s actually crucial. Allow your batter to sit at room temperature for 10 to 15 minutes. During this time, the oats are absorbing liquid and hydrating fully, and your batter will naturally thicken slightly. This resting period creates lighter, fluffier pancakes without any additional effort. It’s pure food science working in your favor.
Step 5: Heat Your Griddle to Medium Heat
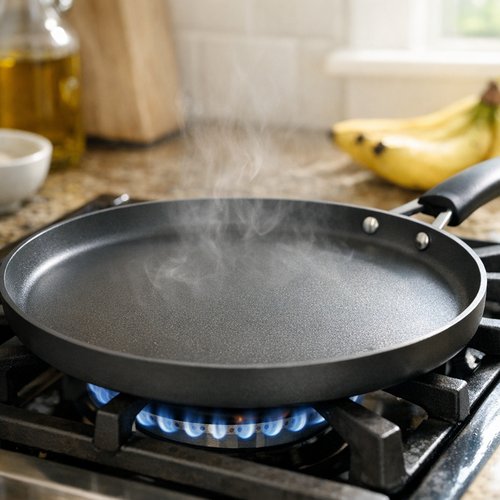
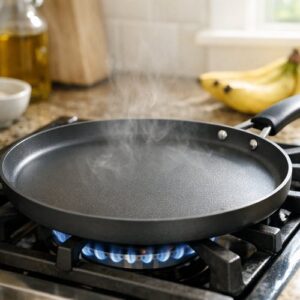
While your batter rests, place your non-stick skillet or griddle over medium heat. Medium is essential here—too high and your pancakes burn before cooking through; too low and they’ll spread too thin. Test your griddle temperature by flicking a tiny drop of water onto the surface; it should sizzle gently and disappear in about 2 seconds. This is the Goldilocks temperature for perfect pancakes.
Step 6: Lightly Coat Your Cooking Surface
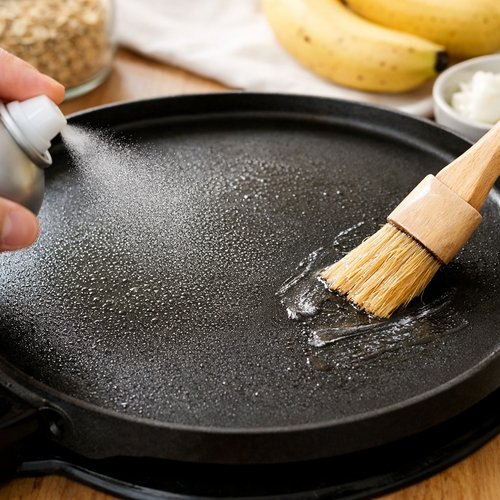
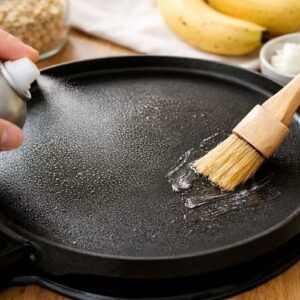
Give your griddle a light spray of cooking spray or brush with just ½ teaspoon of coconut oil. Less is more here—these pancakes contain eggs, which naturally prevent sticking when your griddle is properly heated. Avoid over-oiling, which can make them greasy and heavy.
Step 7: Cook Your Pancakes Until Golden
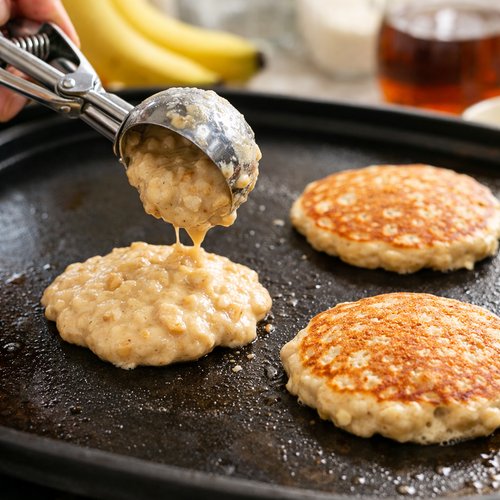
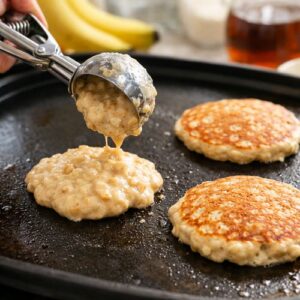
Using a spoon or small ice cream scoop, drop rounds of batter onto your hot griddle, spacing them about 2 inches apart. You’ll notice they start to set almost immediately. Cook until the edges look set and slightly darker, about 2 to 3 minutes per side. They should be golden brown, not pale. This caramelization creates flavor and signals that they’re cooked through. Flip gently and cook the other side until golden as well.
Step 8: Serve Immediately While Warm
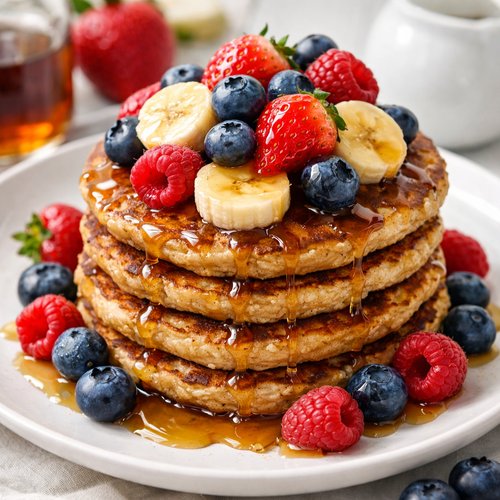
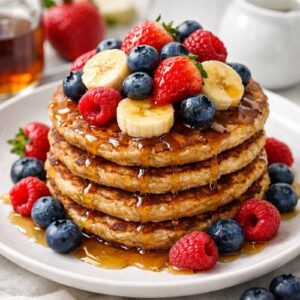
Transfer your pancakes to a warm plate and serve right away. Top with a light drizzle of pure maple syrup and an abundance of fresh fruit. Berries are my go-to—their tartness plays beautifully against the natural sweetness of the banana—but sliced peaches, fresh strawberries, or diced mango all work wonderfully.
How to Adapt Based on What You Have
- If you only have instant oats – Use them, but know your pancakes will be slightly denser. Pulse them in your blender for 10 seconds before adding other ingredients to break down the texture.
- If you don’t have baking powder – You can make a substitute by combining ¼ teaspoon baking soda with ½ teaspoon lemon juice or vinegar. Let it sit for 1 minute before using.
- If you prefer to avoid eggs – Substitute with 2 flax eggs (2 tablespoons ground flaxseed mixed with 6 tablespoons water, let sit 5 minutes) or 2 applesauce, though the texture will be slightly less fluffy.
- If your bananas are too firm – Mash them gently with a fork before blending, or add just 1 tablespoon of water to your blender to help them blend smoothly.
- If you want extra protein – Add 2 tablespoons of plain Greek yogurt or vanilla protein powder to your batter. This increases protein content without affecting the taste.
Zero Waste: Using Every Last Bit
As a dietitian who cares deeply about nutrition and sustainability, I’m passionate about zero-waste cooking. If you have leftover banana peels from this recipe, don’t toss them. Freeze them to add to future smoothies—they contain potassium and fiber. If you happen to over-blend your batter and end up with something slightly runny, thin it with a tablespoon of water and make crepes instead—they’re equally delicious. Any pancakes that don’t get eaten can be frozen individually between parchment paper and reheated in your toaster for quick breakfasts all week. This is resourceful cooking, and it’s beautiful.
Can I Store Banana Oat Pancakes?
Yes, and this is where these pancakes become a meal-prep dream. Store cooked pancakes in an airtight container in your refrigerator for up to 4 days. I recommend separating each pancake with a sheet of parchment paper so they don’t stick together. To reheat, place them on a toaster oven rack at 300°F for about 5 minutes until warmed through, or pop them in your toaster set to low-medium. You can also freeze them for up to 2 months—perfect for those mornings when you need breakfast fast but still want something homemade and nutritious.
If you want to store your batter, keep it in an airtight container for up to 24 hours in the refrigerator. The batter will thicken as it sits, so you might need to add a tablespoon of water when you’re ready to cook. As a registered dietitian, I recommend cooking the pancakes rather than storing the batter long-term, since the oats will continue absorbing liquid and the eggs lose their binding power over time.
Nutrition Information
Let me break down what makes these pancakes nutritionally special. Each serving (approximately 2 pancakes) provides roughly 120 calories, 5 grams of protein, 16 grams of carbohydrates, and 4 grams of healthy fat. The USDA database shows that rolled oats contain beta-glucan, a type of soluble fiber that supports heart health and stable blood sugar. The two eggs in the full batch provide choline, which supports brain development—something I always highlight when working with families.
Expert’s Nutritional Tip: The combination of protein from eggs and complex carbohydrates from oats makes these pancakes a legitimate blood-sugar balancing breakfast. Unlike traditional flour-based pancakes that can cause afternoon energy crashes, these provide sustained energy for hours. The banana provides potassium, which supports heart health and muscle function. This is what I call “breakfast that works with your body, not against it.”
What to Serve With Banana Oat Pancakes?
The beauty of these pancakes is that they’re naturally sweet, so you want to pair them with flavors that contrast and complement. Fresh fruit is obviously the perfect partner, but let me give you some combinations I’ve discovered through years of family cooking.
- Fresh berries with a drizzle of honey – Blueberries, raspberries, and blackberries provide antioxidants and tartness that balances the sweet banana perfectly.
- Sliced fresh peaches with a sprinkle of cinnamon – Warm spice against cool fruit creates a sophisticated flavor combination.
- Greek yogurt on the side – Creamy, tangy, and adds an additional protein boost that keeps you satisfied through the morning.
- A simple green salad with lemon vinaigrette – Sounds unexpected, but the brightness cuts through the richness beautifully, making these pancakes feel like a complete, balanced meal.
If you’re looking for other breakfast inspiration beyond pancakes, check out my my weekend waffles for a different take on the same delicious banana-and-oat combination.
Common Mistakes to Avoid
Mistake 1: Using Under-Ripe Bananas – Green or yellow bananas will make your batter taste starchy and slightly bitter. Overripe bananas with brown spots truly do work better. They’re at peak sweetness and blend more smoothly into the batter.
Mistake 2: Over-Blending Your Batter – I see this constantly, and it creates dense, flat pancakes. Blend until smooth, but stop before your oats turn into flour. The texture should still have tiny flecks of oat visible.
Mistake 3: Skipping the Resting Period – That 10 to 15 minutes isn’t optional—it’s when your oats hydrate and your pancakes get their fluff. Rushing this step results in pancakes that spread too thin and cook unevenly.
Mistake 4: Cooking on Heat That’s Too High – Your pancakes will burn on the outside while staying raw inside. Medium heat is essential. Test your griddle with a water drop before you start cooking.
Seasonal Variations
Spring Version: Add ½ teaspoon of fresh lemon zest to your blender and serve with fresh strawberries and a dollop of whipped cream. The citrus brightens the banana beautifully.
Summer Version: Blend in 1 tablespoon of unsweetened cocoa powder for a subtle chocolate flavor, then serve with fresh raspberries and a light dusting of powdered sugar. It feels indulgent without being heavy.
Fall Version: Add ½ teaspoon of pumpkin pie spice (cinnamon, nutmeg, cloves, and ginger) to your batter and serve with chopped pecans and a drizzle of pure maple syrup. This tastes like autumn in pancake form.
Winter Version: Stir ½ teaspoon of pure vanilla extract into your batter and top with pomegranate seeds and a dollop of Greek yogurt. The jewel-like pomegranate seeds are at their peak, and they provide a festive, tart contrast.
Make-Ahead Guide
From my experience working with families who need meal prep strategies, I can tell you that these pancakes are a lifesaver for busy mornings.
Prep the Night Before: You can blend your ingredients up to 24 hours ahead. Store the batter in an airtight container in your refrigerator. In the morning, give it a gentle stir (you might need to add a tablespoon of water since the oats continue absorbing liquid) and cook as directed.
Cook Ahead for the Week: Make the full batch of pancakes on Sunday and store them refrigerated or frozen. Each morning, simply reheat in your toaster or toaster oven. This takes less than 5 minutes and ensures your family always has a homemade, nutritious breakfast available.
Freeze for Later: Cool the cooked pancakes completely, then layer them between parchment paper in an airtight freezer container. They’ll keep for up to 2 months. Pop them in the toaster to reheat—they thaw and warm perfectly.

Banana Oat Pancake Recipe
Ingredients
Method
- Start by peeling your bananas and breaking them into 3 to 4 chunks. If your bananas are very soft or warm, pop them in the freezer for just 5 minutes while you gather your other ingredients. This temperature control makes blending easier and creates a fluffier final pancake. I learned this trick from watching how professional kitchens work with fruit—temperature consistency matters for texture.
- Pour your rolled oats into the blender first, followed by the banana chunks, eggs, baking powder, salt, and vanilla extract if using. The order matters here—oats on the bottom prevents them from clinging to the sides of the blender jar. This is a technique I use constantly in my nutrition counseling when helping families simplify their cooking process.
- Start your blender on low speed, then gradually increase to medium-high. You're aiming for a consistency that's smooth like thick pancake batter, but you still want to see tiny flecks of oat throughout. Don't over-blend—about 45 to 60 seconds is your sweet spot. This preserves some texture and prevents the oats from turning into flour, which can make your pancakes dense instead of tender.
- This is the step most people skip, and it's actually crucial. Allow your batter to sit at room temperature for 10 to 15 minutes. During this time, the oats are absorbing liquid and hydrating fully, and your batter will naturally thicken slightly. This resting period creates lighter, fluffier pancakes without any additional effort. It's pure food science working in your favor.
- While your batter rests, place your non-stick skillet or griddle over medium heat. Medium is essential here—too high and your pancakes burn before cooking through; too low and they'll spread too thin. Test your griddle temperature by flicking a tiny drop of water onto the surface; it should sizzle gently and disappear in about 2 seconds. This is the Goldilocks temperature for perfect pancakes.
- Give your griddle a light spray of cooking spray or brush with just ½ teaspoon of coconut oil. Less is more here—these pancakes contain eggs, which naturally prevent sticking when your griddle is properly heated. Avoid over-oiling, which can make them greasy and heavy.
- Using a spoon or small ice cream scoop, drop rounds of batter onto your hot griddle, spacing them about 2 inches apart. You'll notice they start to set almost immediately. Cook until the edges look set and slightly darker, about 2 to 3 minutes per side. They should be golden brown, not pale. This caramelization creates flavor and signals that they're cooked through. Flip gently and cook the other side until golden as well.
- Transfer your pancakes to a warm plate and serve right away. Top with a light drizzle of pure maple syrup and an abundance of fresh fruit. Berries are my go-to—their tartness plays beautifully against the natural sweetness of the banana—but sliced peaches, fresh strawberries, or diced mango all work wonderfully.
FAQs
Can I Make These Pancakes Without a Blender?
Absolutely. Mash your bananas very thoroughly with a fork (this takes a few minutes), then whisk together the mashed banana, beaten eggs, and vanilla in a bowl. In a separate bowl, combine oats, baking powder, and salt. If your oats are large, pulse them in a food processor to break them down slightly. Fold the dry ingredients into the wet ingredients until just combined. The texture won’t be quite as fluffy, but they’ll still taste delicious.
What If My Batter Is Too Thick?
Add water one tablespoon at a time until you reach your desired consistency. Thin batter creates thinner pancakes; thicker batter creates fluffier pancakes. Find your preference and adjust accordingly.
Are These Pancakes Truly Gluten-Free?
Yes, absolutely. Rolled oats are naturally gluten-free, and eggs contain no gluten. Just verify that your baking powder is gluten-free (most mainstream brands are, but check the label) and confirm your oats weren’t processed in a facility with wheat. These are safe for anyone avoiding gluten.
Can I Add Chocolate Chips or Other Mix-Ins?
Yes! Fold in ¼ cup of mini chocolate chips, fresh blueberries, or chopped nuts right after blending. These sink slightly during cooking, creating pockets of flavor throughout. If using fresh fruit, add it just before cooking to prevent excess moisture.
How Do I Know When the Pancakes Are Actually Done Cooking?
Look for these visual cues: the edges will look set and slightly darker than the center, tiny bubbles will form on the top surface, and the pancake will release easily from the griddle when you run a spatula underneath. These signals tell you it’s ready to flip. The second side cooks faster—usually just 1 to 2 minutes—and should be golden brown.
More Leftover Transformation Recipes
If you love the concept of turning simple ingredients into something extraordinary, you’ll adore these other recipes in my collection. They all follow the same philosophy: use what you have, create something nourishing, and never compromise on flavor or satisfaction.
- my go-to banana bread – Another beautiful way to use ripe bananas with warm spices
- Butternut Squash and Spinach Recipe – Nutritious, colorful, and packed with vegetables
- Lemon Broccolini Recipe – A bright, simple side that brings out the natural flavors of fresh produce
This Banana Oat Pancake Recipe represents everything I learned from my mother and grandmother—that the best meals come from attention, intention, and love. They taught me that cooking isn’t about having fancy ingredients or spending hours in the kitchen. It’s about understanding how flavors work together, respecting your ingredients, and creating moments of nourishment and joy at your table. Every time you make these pancakes, you’re choosing whole foods, you’re honoring the fruit that might have otherwise been wasted, and you’re building memories with the people you love. That’s the real magic here. Hope you find joy in every recipe!