
Ingredients
Method
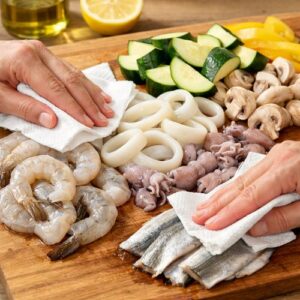
Step 1: Prepare Your Seafood and Vegetables
- Pat everything completely dry using paper towels—and I mean completely. Any moisture on your seafood will cause the oil to splatter and prevent the batter from adhering properly. I lay each item on a clean kitchen towel and pat gently but thoroughly. This one step prevents 90% of batter sticking issues. Arrange your prepped ingredients on a large plate or cutting board in the order you'll fry them (vegetables first, then delicate items, then heartier pieces). This prevents scrambling later and keeps your oil temperature consistent.
Step 2: Make the Batter While Oil Heats
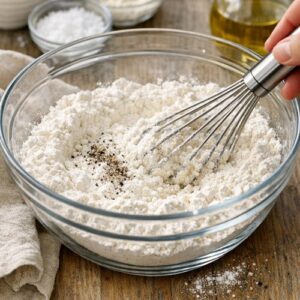
- In a large bowl, whisk together your flour, cornstarch, baking soda, salt, and pepper. Here's the critical part that separates this method from others: whisk these dry ingredients for a full 30 seconds to distribute the baking soda evenly. Uneven distribution means some pieces will be extra crispy while others stay dense. Now gradually pour in your chilled club soda while whisking continuously. This is where patience pays off. Don't dump it all in at once. Pour slowly, whisk smoothly, and stop when your batter reaches a consistency like a thick milkshake. It should coat the back of a spoon but still drip off easily. You may not use all the soda, and that's perfectly fine. The consistency matters more than the amount. If your batter gets too thick, add soda one tablespoon at a time.
Step 3: Heat Oil to Precise Temperature
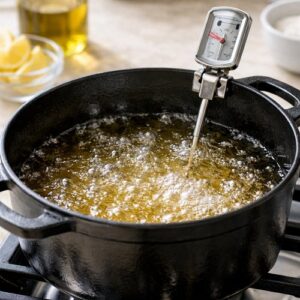
- While your batter rests (yes, let it sit for 5 minutes—this allows the cornstarch to fully hydrate), heat your oil in a deep skillet or Dutch oven to 350-375°F. A kitchen thermometer is non-negotiable here. Too cool, and you get greasy, soggy results. Too hot, and the outside burns before the inside cooks. I use a deep-fry thermometer clipped to the side of my pan, checking temperature every minute. To test readiness before you trust the thermometer, drop a tiny spoonful of batter into the oil. It should sizzle immediately and begin browning within 5 seconds. If it sinks and sits quietly, the oil needs more heat. If it browns too fast, bring the temperature down slightly.
Step 4: Fry Vegetables First
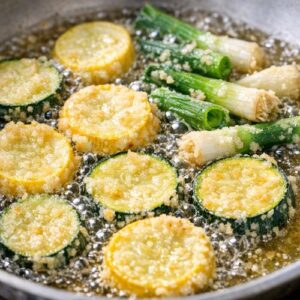
- Start with your summer squash and scallions—vegetables take longest to cook through and benefit from the slightly cooler oil at the start of your frying session. Using tongs or a slotted spoon, gently lower a small batch of squash into the oil. Don't overcrowd the pan. You want space between each piece so heat circulates evenly. Fry for 3-4 minutes until the edges turn golden and crispy. You'll know they're ready when they float and the batter looks light tan. Remove to a wire-rimmed cooling rack (not paper towels, which trap steam and make things soggy). Repeat with scallions. The vegetables create a baseline temperature reading for your oil—they'll help you gauge if you need temperature adjustments before moving to seafood.
Step 5: Fry Calamari Next
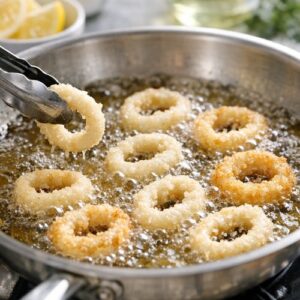
- Calamari's delicate nature requires attention. Working in small batches—no more than 8-10 rings at a time—gently slide them into the oil. The batter should immediately coat them in bubbles. Fry for exactly 3 minutes. This is short enough that the rings stay tender, but long enough that the batter crisps properly. Undercooked calamari tastes rubbery. Overcooked becomes tough and chewy. That 3-minute sweet spot is everything. Transfer to your cooling rack. The calamari will continue cooking slightly from residual heat, so remove them a shade before they look fully golden.
Step 6: Fry Smelt Whole
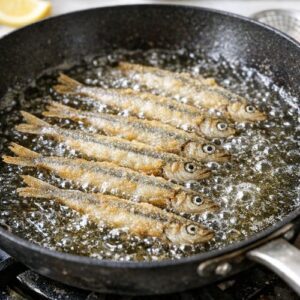
- These tiny fish are straightforward and forgiving. Fry 6-8 at a time for about 3-4 minutes. They'll feel crispy from nose to tail when ready. The whole fish, head included, becomes edible (yes, even the eyes—very traditional, and honestly, this is where the delicate flavor lives). Transfer to your rack.
Step 7: Finish With Prawns
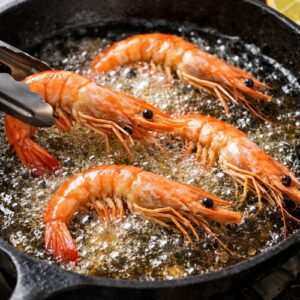
- Prawns go last because they're the heartiest and can handle a slightly higher temperature. Fry 4-5 at a time for about 4 minutes. The shells will turn bright pink-red, and you'll see the tail curl tighter. Transfer to the cooling rack. These are show-stoppers—their impressive presentation makes the whole platter look more elegant.
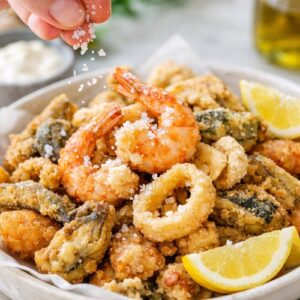
Step 8: Season and Serve Immediately
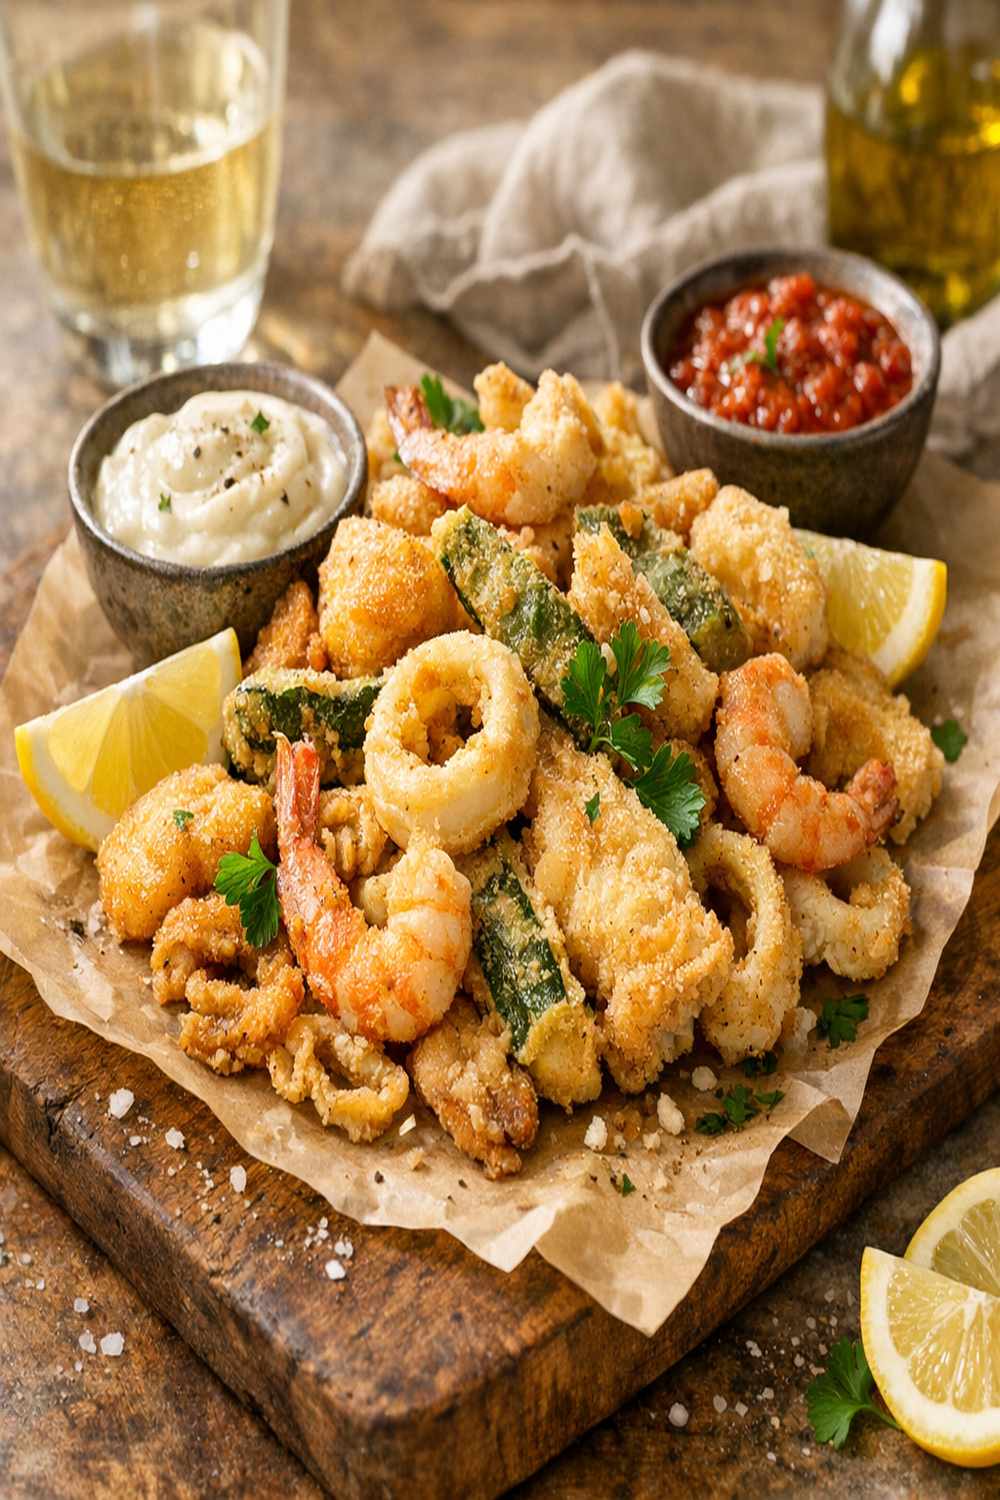
- Once all pieces are fried and drained, immediately sprinkle everything with flaky salt. This is the moment to season, while pieces are still warm and the salt adheres. Serve on a parchment-lined platter with fresh lemon wedges on the side. Each person squeezes lemon over their portion just before eating—the citric acid brightens the rich fried flavors beautifully.