
Ingredients
Method
Step 1: Prepare and Slice Your Squid
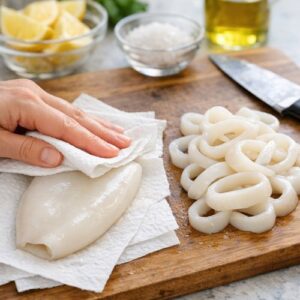
- Start with your frozen calamari tubes completely thawed. Pat them dry with paper towels—moisture is the enemy of crispiness, and removing excess water makes a real difference. Now slice them into ¾-inch rings. This thickness is crucial because it allows the inside to cook through while the outside achieves that golden-brown exterior. Thinner rings can become rubbery, and thicker rings might not cook evenly. For keto and gluten-free versions, this step is identical—thickness is about texture, not carbs or gluten content.
Step 2: Create Your Milk Bath (The Secret Step)
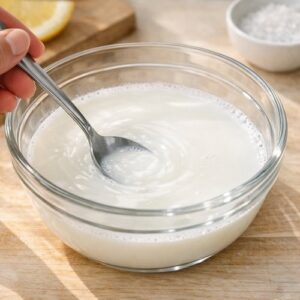
- In a medium bowl, combine your chosen milk with 1 teaspoon of kosher salt. Stir until the salt dissolves completely. This milk bath does two things: it tenderizes the squid slightly through the protein-denaturing properties of salt, and it creates a binding agent for your coating. For vegan versions, use unsweetened oat or soy milk for best binding—they have slightly more protein than almond milk. For keto, full-fat options work better than low-fat because they help the coating adhere better. Add your sliced calamari rings to this mixture and refrigerate for 30 minutes. Yes, exactly 30 minutes—this gives you time to prepare your coating while the squid gets perfectly tenderized.
Step 3: Mix Your Dry Coating Blend
- In a large mixing bowl, whisk together your flour (whatever version you're using), the cornstarch, baking powder, dried oregano, black pepper, and cayenne pepper. Whisk thoroughly—at least 20-30 seconds of consistent whisking. This incorporates air into the dry mixture, which contributes to that impossibly light, crispy texture when it hits hot oil. For gluten-free versions, make sure your flour blend is certified and that you're using it straight from the package without any adjustments to ratios. For keto versions with almond flour, whisk extra thoroughly because almond flour has a tendency to clump.
Step 4: Set Up Your Dredging Station
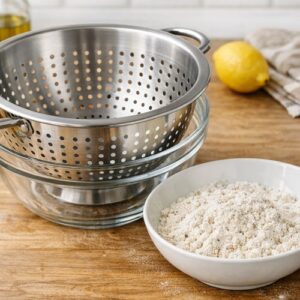
- Place a large colander on top of a large bowl. Have your dry coating mixture ready in its bowl. These tools are about to become your best friends. When you remove the calamari from the milk bath, you'll use tongs to transfer them to the colander, which drains excess milk while keeping the rings in one convenient place for coating.
Step 5: Coat Your Squid in Batches
- Using tongs, remove about half of the calamari rings from the milk bath. Let excess milk drip off by holding the tongs steady for 2-3 seconds. Now transfer them to your bowl of dry coating mixture. Toss gently but thoroughly until every ring is evenly coated on all sides. I use a gentle folding motion with tongs—this prevents the rings from sticking to each other while ensuring complete coverage. Once coated, transfer them to the colander to rest while you coat the remaining squid. This batching approach prevents the coating from becoming soggy and helps you maintain consistent cooking temperature in your oil.
Step 6: Prepare Your Frying Setup
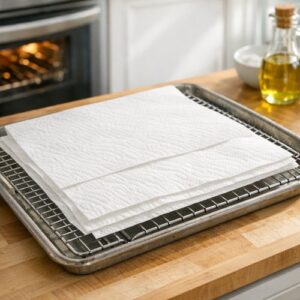
- Set your oven to a low 150°F. Line a large sheet pan with a wire rack, then top that rack with paper towels. This setup will keep your cooked squid warm and allow any excess oil to drip away—absolutely crucial for maintaining crispiness. Have your kosher salt within arm's reach of your frying station.
Step 7: Heat Your Oil to Optimal Temperature
- Pour grapeseed oil into a small cooking pot (a 2.5-quart pot works perfectly) until you have about 4 inches of oil. Place it over medium-high heat. You're aiming for 350-365°F—this temperature range is the sweet spot where the coating fries up golden and crispy while the squid inside stays tender, not rubbery. Use a kitchen thermometer for accuracy. To test your oil readiness, drop one coated calamari ring into the oil. If it immediately creates vigorous bubbles and floats to the surface, you're ready to go. If it sinks or bubbles lazily, wait a bit longer.
Step 8: Fry Your Calamari in Batches
- Using your tongs, gently add roughly half of your coated calamari rings to the hot oil. They'll sink initially, then float. Fry for approximately 3 minutes total. You're looking for a deep golden-brown color—this indicates the coating is crispy and the inside is perfectly cooked. Remove them with your tongs and arrange them on your prepared paper towel-lined wire rack. Immediately season with a light sprinkle of kosher salt while they're still hot—this is when salt adheres best. Transfer the rack to your 150°F oven to keep warm while you fry the remaining batch. This waiting period maintains temperature without overcooking.
Step 9: Finish and Serve
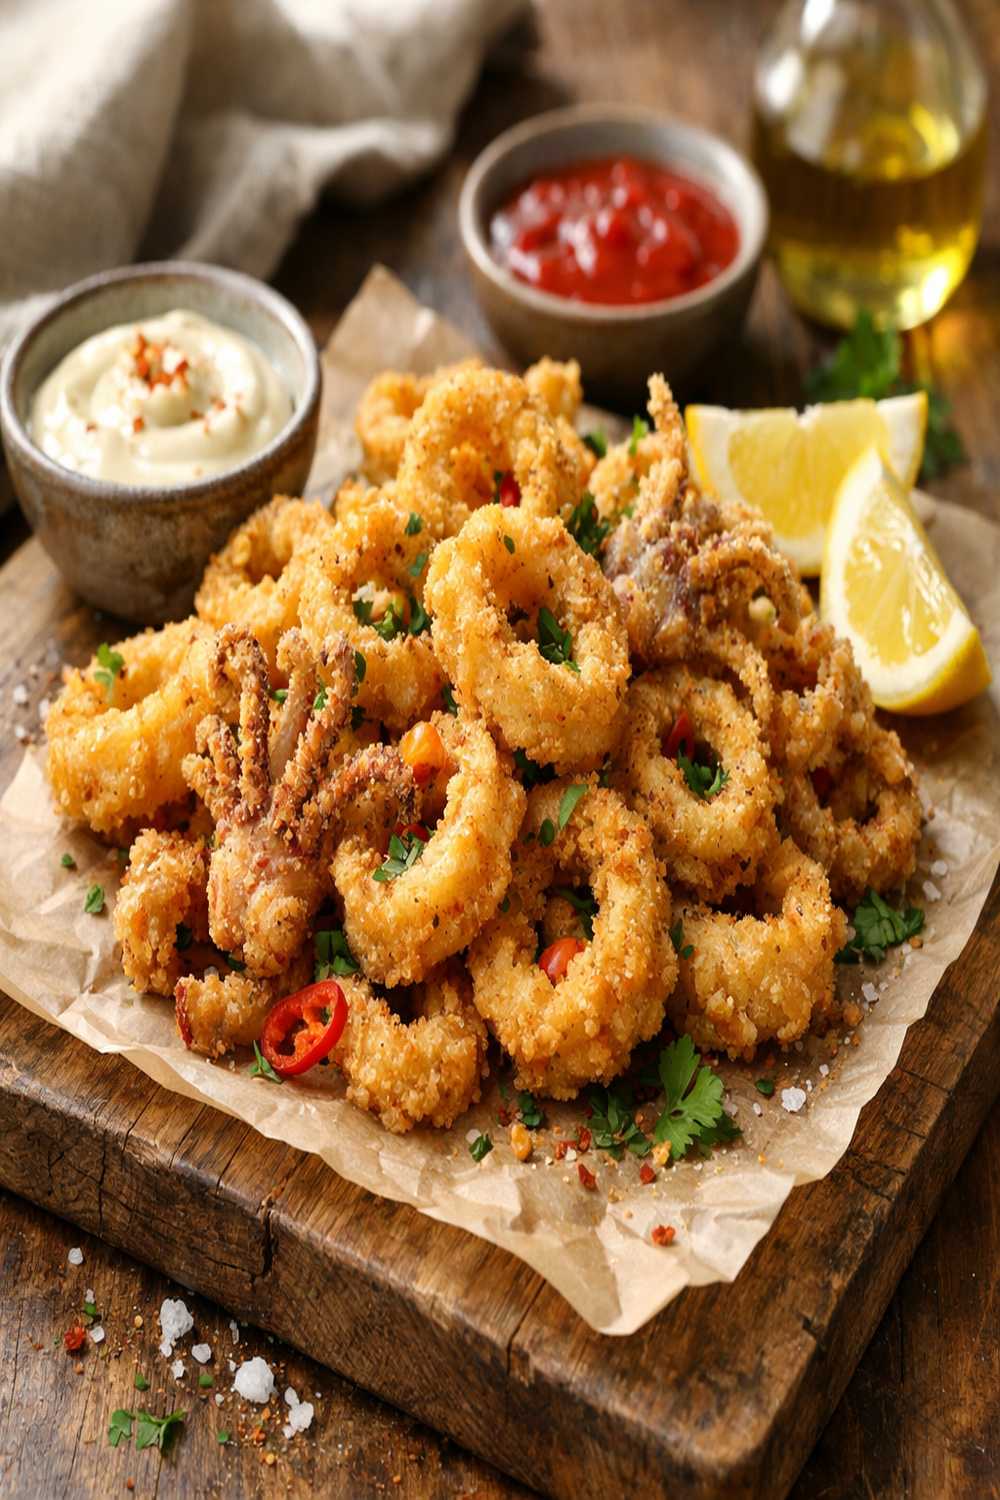
- Once you've fried all your calamari, transfer everything to a serving platter and give it a generous squeeze of fresh lemon juice right before serving. The acidity brightens the richness of the fried exterior and adds a fresh complexity. Serve immediately while everything is still warm and crispy. The difference between eating this fresh off the pan versus even 5 minutes later is noticeable, so timing matters here.