Before diving into the nitty-gritty of this chili crisp recipe, let’s chat about pairing choices. The beauty of chili crisp lies not just in its flavor, but in its versatility. Go ahead and add it as a drizzle on your favorite dumplings or stir it into ramen for an exciting twist.
Toss it with roasted vegetables or use it to add a kick to your salad dressings. It can jazz up a simple fried egg or become the star ingredient in your stir-fry. The possibilities are practically endless!

What is Chili Crisp?
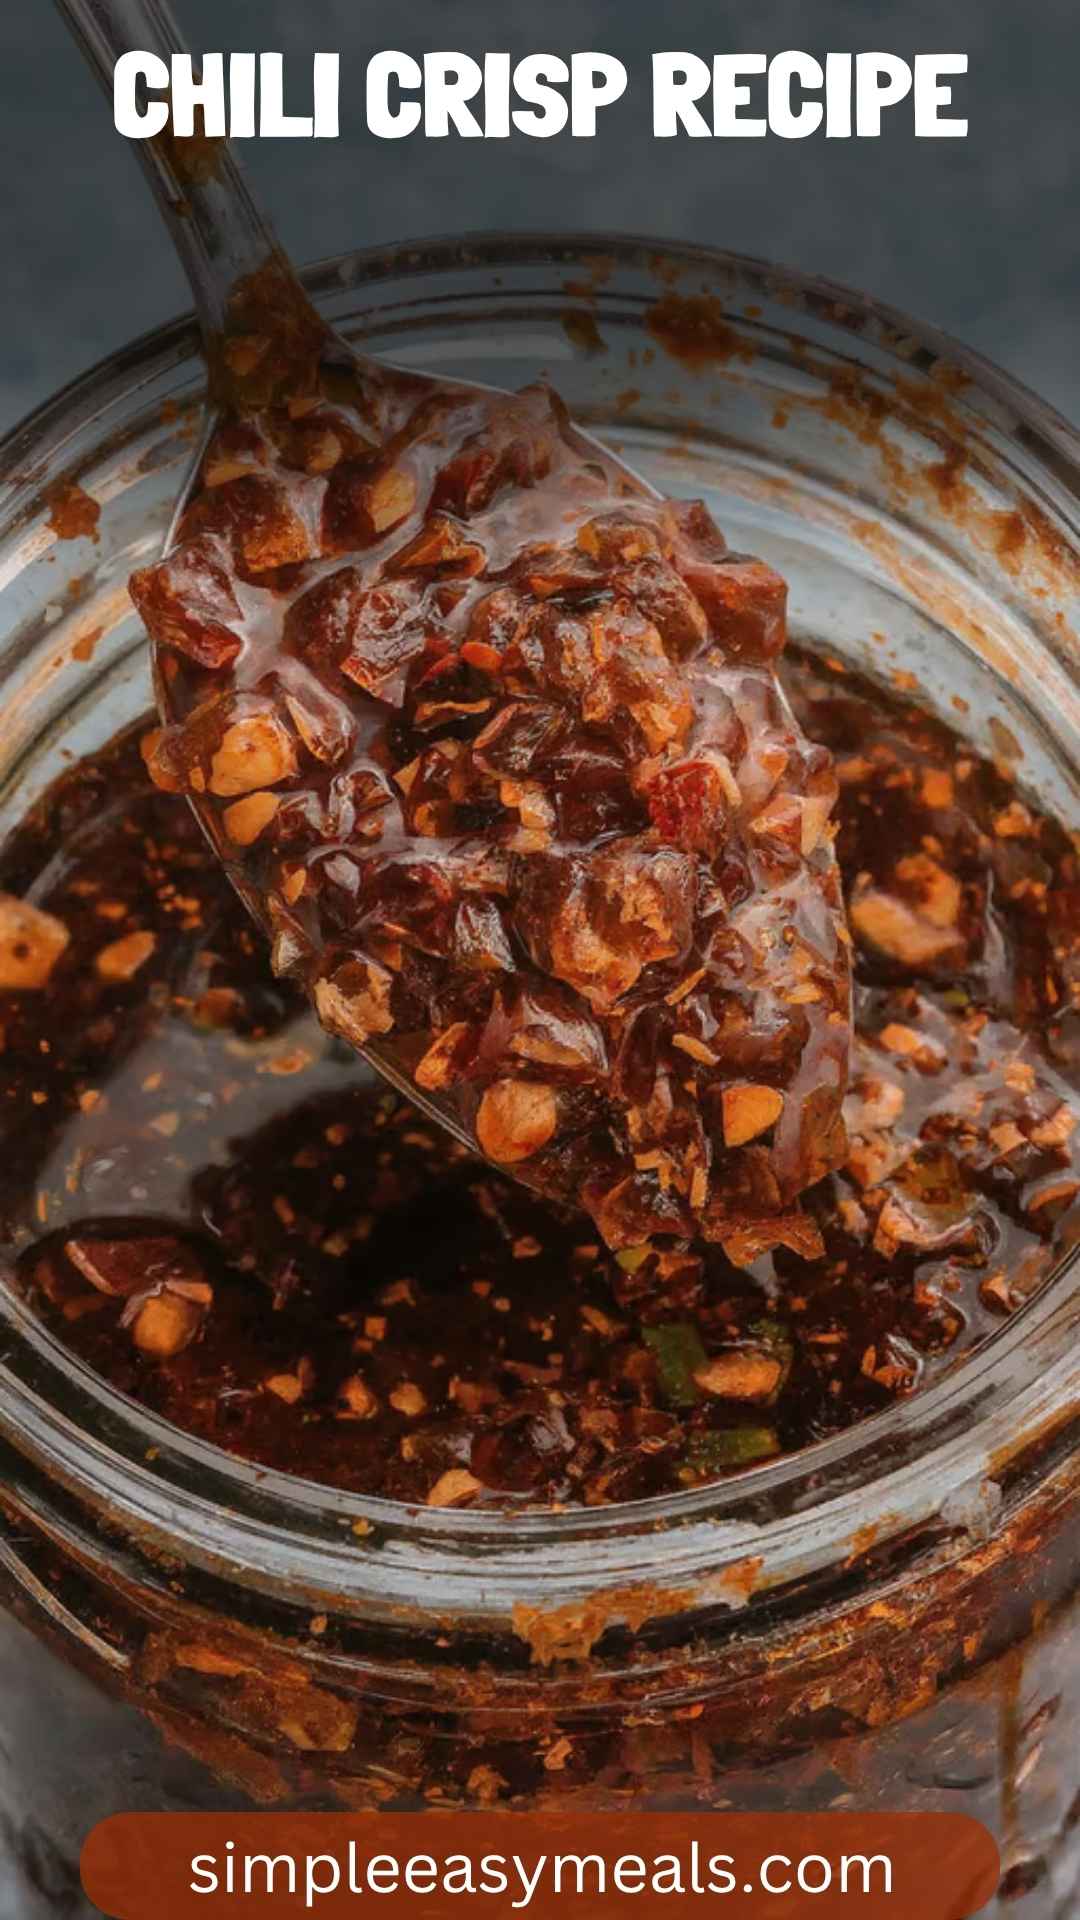
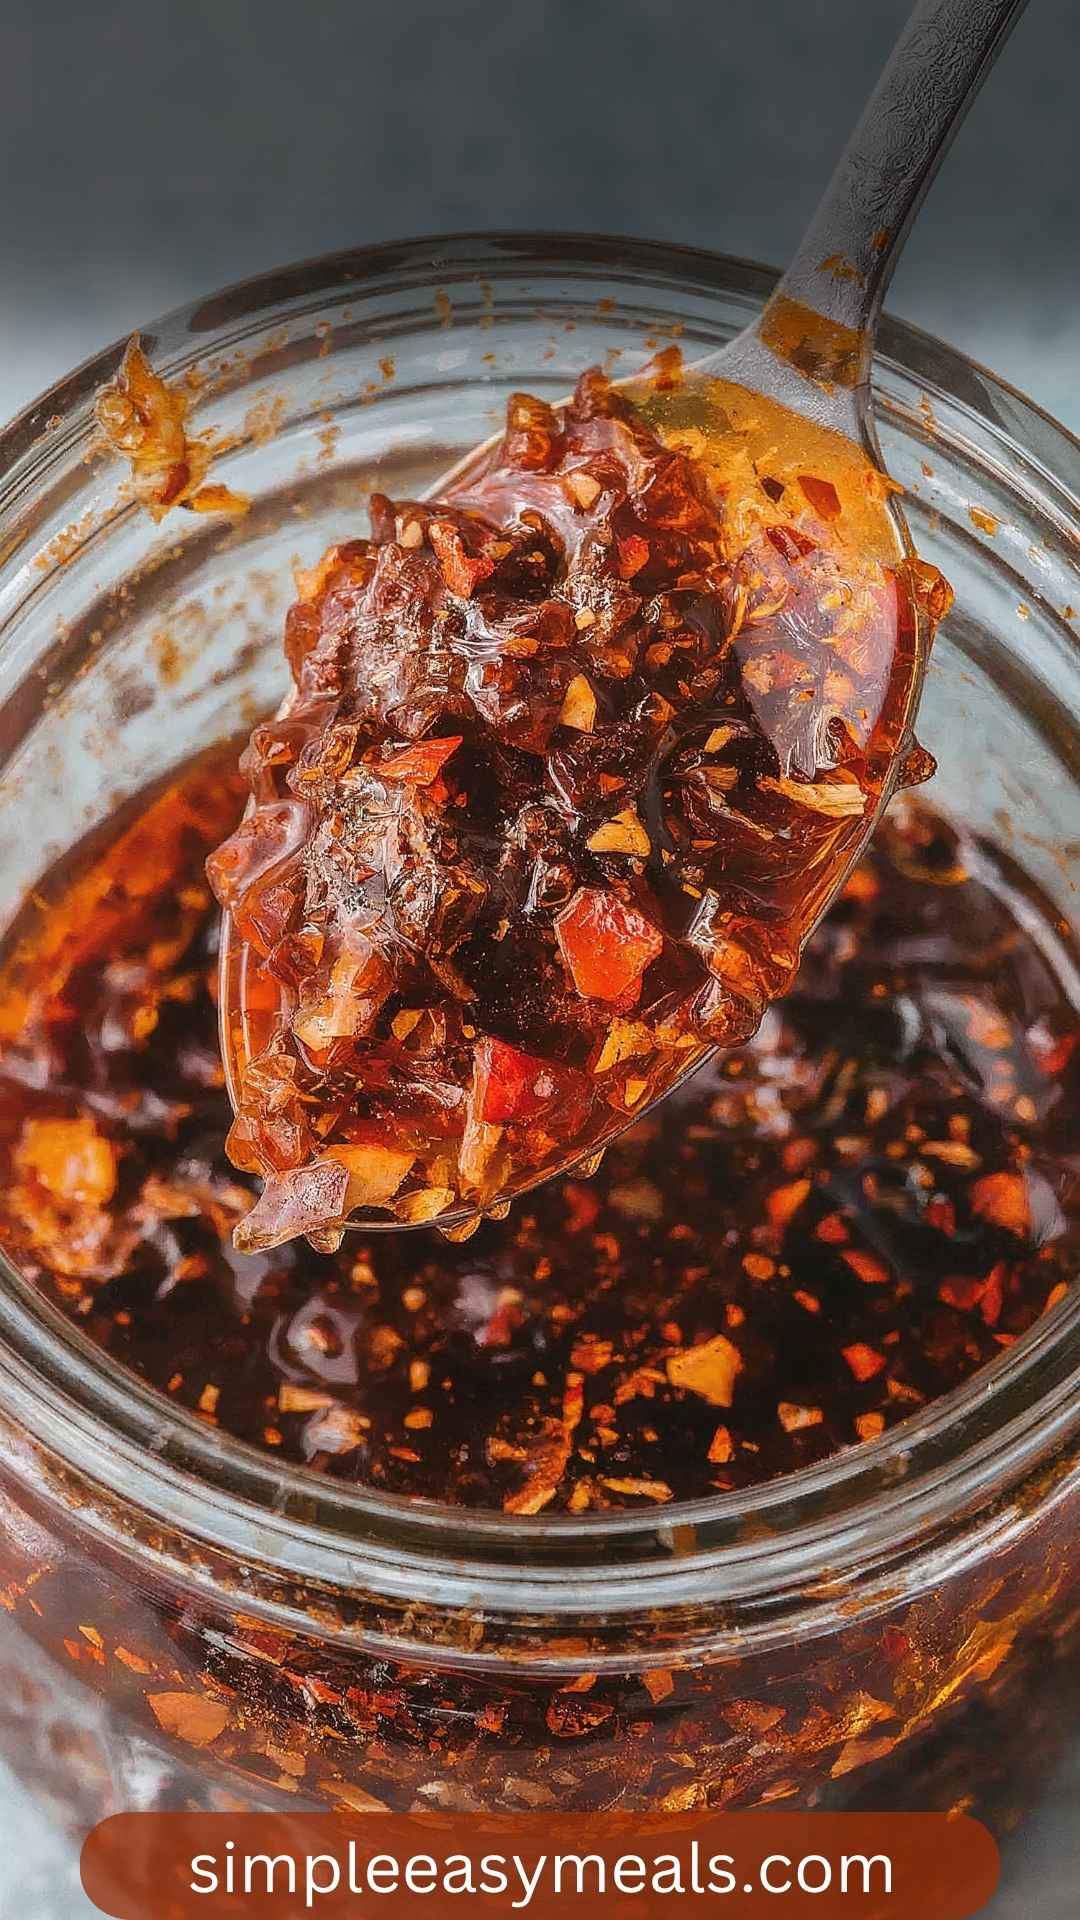
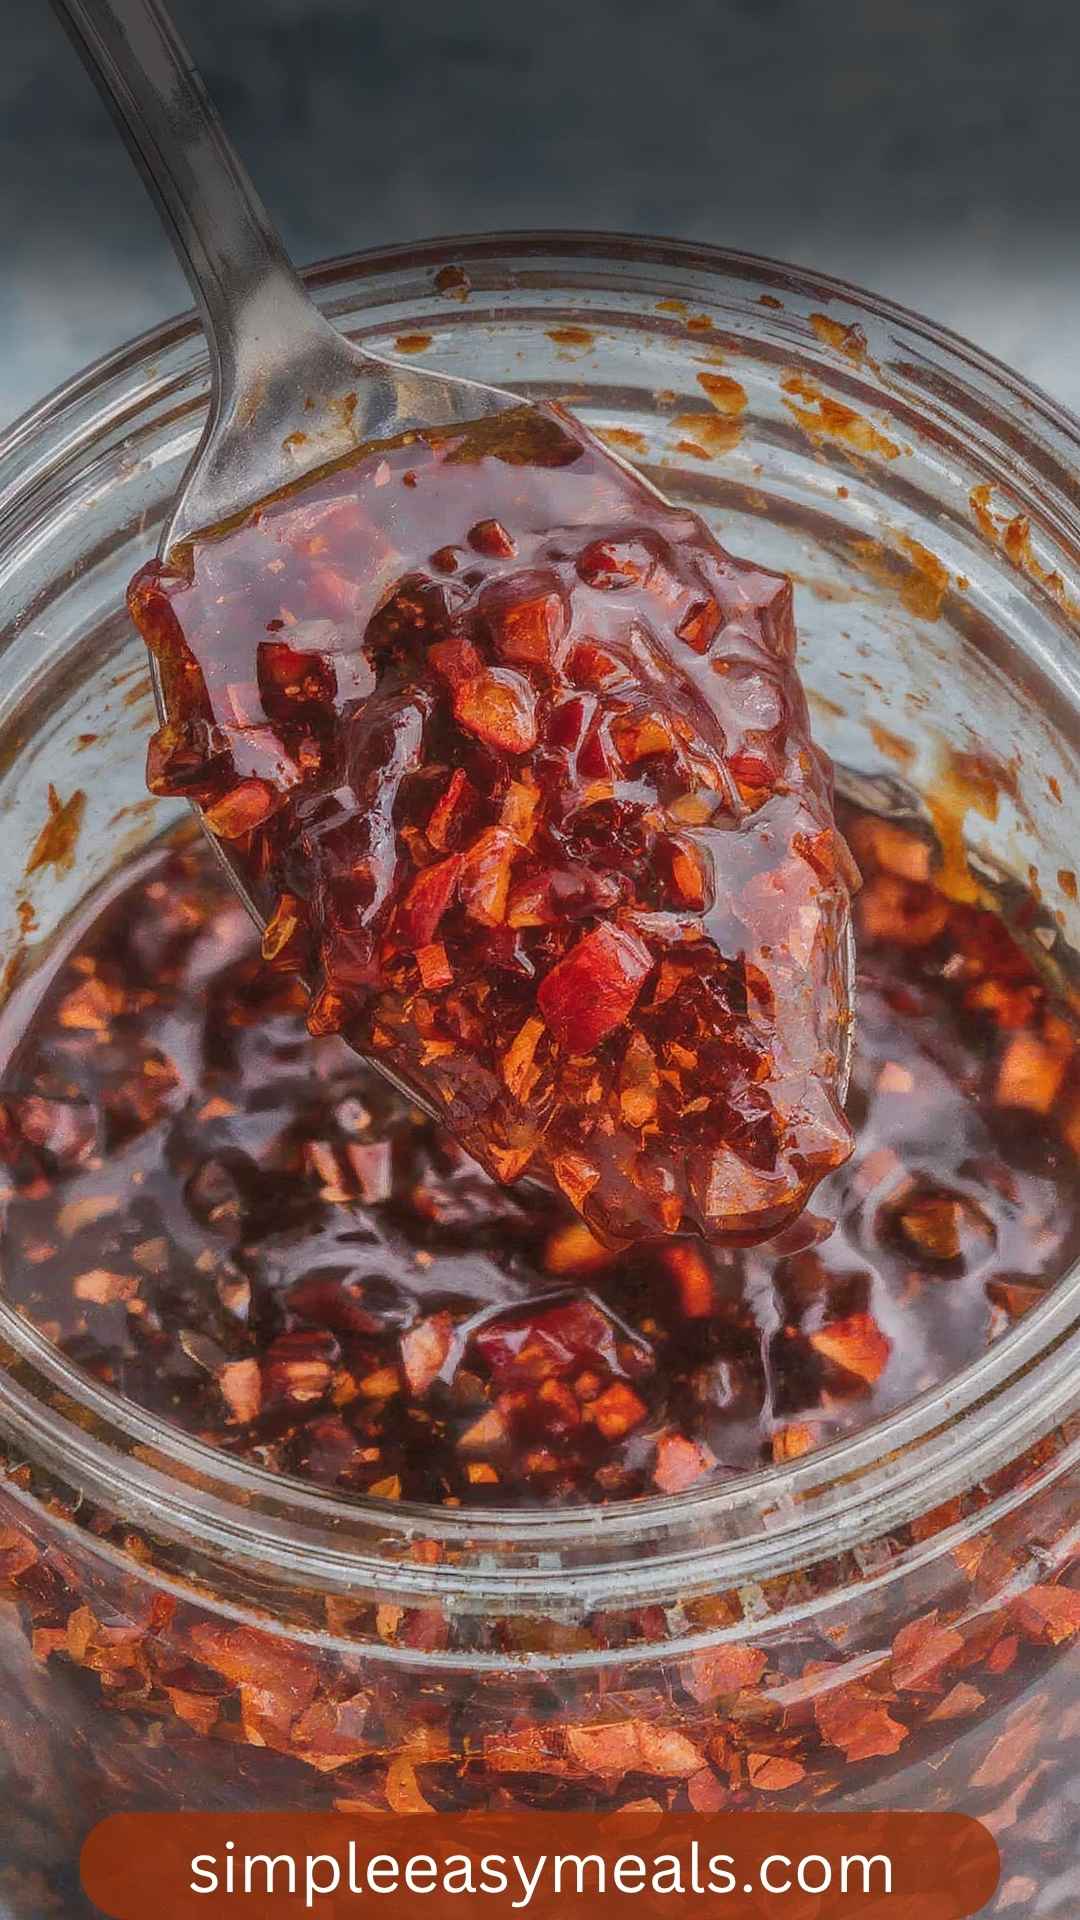
Simply put, chili crisp is a condiment hailing from China, mainly known for its crunchy texture and spicy kick. It typically combines oil, various spices, and fried bits of garlic and onion.
The charm of chili crisp lies in its layers of flavor—spicy, umami, and sometimes sweet. Once you add a dollop to your dish, it elevates everything from bland to grand in no time!
What is the Flavor Profile of This Dish?
Ah, the flavor profile! We’re talking about a riot of sensations here. Expect a rich combination of bold spices with heat that tickles your tongue. You’ll find hints of garlic that greet you warmly, while the crispiness adds a delightful crunch.
The subtle sweetness from the sugar rounds out the whole experience, making it balanced and complex. It’s like a dance of flavors that keeps you wanting more.
Why You’ll Love This?
You might wonder, why bother making chili crisp when you can buy it? Well, let me assure you there are profound reasons.
First, making your own allows you to customize the heat. Whether you want it with a gentle warmth or a fiery explosion, the choice is yours.
Secondly, it’s made fresh—no preservatives in sight! Imagine serving something homemade at your next gathering. That’s sure to impress your friends and family.
The thrill of experimenting is another factor. You can swap ingredients, add more garlic, or sprinkle in some sesame seeds for texture. Plus, making it from scratch is way easier than you think. I mean, who wouldn’t want to have their kitchen smelling like a little corner of Sichuan?
Ingredients
Now let’s gather those ingredients! Here’s what you’ll need for this delightful chili crisp:
10 garlic cloves, smashed and chopped
1 tablespoon soy sauce (for a rich umami undertone)
¼ cup crushed red pepper flakes (adjust to desired spice level)
½ teaspoon MSG (optional) – or substitute with fine sea salt to taste
2 serrano chiles, roughly chopped (with seeds for more heat)
1 tablespoon smoked paprika, or use Gochugaru or cayenne for an added kick
2 dried bay leaves, for an earthy aroma
1 small shallot, peeled and coarsely chopped
1 tablespoon raw cane sugar, to balance the heat
1 teaspoon whole black peppercorns, or Sichuan peppercorns for a citrus twist
1 tablespoon toasted sesame seeds, for added nuttiness
1½ cups neutral vegetable oil, or use peanut oil for some nutty depth
Optional Additions for Extra Flavor:
1 (3-inch) cinnamon stick, adding warm undertones.
4 whole star anise pods, offering subtle sweetness.

Step-by-Step Instructions
The anticipation is building—let’s create magic in the kitchen!
Step 1: Prepare the Ingredients
Start by gathering all your ingredients. Wash and chop garlic and shallots. Store-bought items like chili flakes can be ready to go, but double-check for quality.
Step 2: Heat the Oil
In a medium saucepan, pour in your neutral vegetable oil. Heat it over medium flame but be cautious—this step can get smoky! We want the oil hot, but not smoking. A frying temperature is what we’re after, around 350°F.
Step 3: Add Aromatics
Once the oil is hot, carefully add the garlic. Stir constantly to avoid burning. You want it a lovely golden brown. As soon as it turns gold, toss in the shallots. Cook until they’re translucent and fragrant. Oh, the aroma will fill your kitchen!
Step 4: Incorporate the Spices
Now it’s time to add the crushed red pepper flakes, serrano chiles, and black peppercorns. Stir them gently into the oil. The magic happens now as the spices infuse.
Step 5: Add Remaining Ingredients
Stir in the soy sauce, smoked paprika, and sugar. Toss in the bay leaves and optional cinnamon and star anise. Let this simmer gently for about 10 minutes. Stir occasionally and just watch the colors deepen.
Step 6: Cool and Strain
Once everything has simmered and taken on wonderful flavors, remove from heat. Let it cool slightly and strain the oil into a glass jar. The solids can either be discarded or reserved to sprinkle over dishes later.
Step 7: Store Your Chili Crisp
Allow your chili crisp to cool completely before sealing the jar. It’ll keep in the fridge for about a month—if it lasts that long!
Tips & Tricks
Experiment with Spices
Feel free to add spices you love—ginger or cumin can radicalize your recipe.
Adjust the Heat
If you like a milder version, use fewer pepper flakes or remove seeds from chiles.
Don’t Rush the Infusion
Give it time during simmering; the longer, the better the flavor.
Test Before Storing
Before putting it away, taste-test to see if it needs any tweaks.
Reuse for Future Dishes
Don’t discard used aromatics! Toss a few in stir-fries for extra depth of flavor.
Nutrition Information
Let’s break down the nutrition—though this chili crisp is more about flavor than counting calories, it’s always good to know. Each tablespoon of this chili crisp serves roughly:
Calories: 100
Total Fat: 11g (Saturated Fat: 1.5g)
Sodium: 140mg
Carbohydrates: 2g (Fiber: 0.5g, Sugar: 1g)
Protein: 0g
It’s a condiment, so use it sparingly!
How Can You Store This Chili Crisp Recipe?
Chili crisp is best stored in an airtight container. Keeping it refrigerated helps extend its shelf life. If you’ve followed the steps correctly, you’re looking at a good four weeks of deliciousness. Just give it a good shake before each use as the solids may settle at the bottom.
Alternative Choices for Ingredients
If you’re missing an ingredient, here are some alternatives:
Red Pepper Flakes
Use Gochugaru—it has a different flavor profile but still packs spice.
Soy Sauce
Switch to tamari or coconut aminos for a gluten-free option.
Serrano Chiles
Try jalapeños or even skip them for a milder touch.

Conclusion
Homemade chili crisp is not just a food item; it’s a story of flavor, warmth, and creativity that sits in your kitchen, waiting for the right moment to shine. With this recipe, every dish moves from ordinary to extraordinary in moments.
You’ve learned how to prepare, now go out and let your version of chili crisp take center stage at your table! Happy cooking!
You’ll also like the following recipes!
Chili Crisp Recipe – Simple Easy Meals
If you’ve ever hesitated in the noodle aisle, wondering whether to buy that fancy jar of chili crisp, I'm here to tell you to stop right there! You don’t need to rely on someone else’s concoction when making your own chili crisp is not only simple but also far more rewarding.
Coming from my kitchen, this recipe is not just a guideline but an invitation to explore flavors boldly. Grab your apron and join me on this flavorful journey that feels both comforting and adventurous.

Ingredients
Optional Additions for Extra Flavor:
Instructions
Step 1: Prepare the Ingredients
-
Start by gathering all your ingredients. Wash and chop garlic and shallots. Store-bought items like chili flakes can be ready to go, but double-check for quality.
Step 2: Heat the Oil
-
In a medium saucepan, pour in your neutral vegetable oil. Heat it over medium flame but be cautious—this step can get smoky! We want the oil hot, but not smoking. A frying temperature is what we’re after, around 350°F.
Step 3: Add Aromatics
-
Once the oil is hot, carefully add the garlic. Stir constantly to avoid burning. You want it a lovely golden brown. As soon as it turns gold, toss in the shallots. Cook until they’re translucent and fragrant. Oh, the aroma will fill your kitchen!
Step 4: Incorporate the Spices
-
Now it’s time to add the crushed red pepper flakes, serrano chiles, and black peppercorns. Stir them gently into the oil. The magic happens now as the spices infuse.
Step 5: Add Remaining Ingredients
-
Stir in the soy sauce, smoked paprika, and sugar. Toss in the bay leaves and optional cinnamon and star anise. Let this simmer gently for about 10 minutes. Stir occasionally and just watch the colors deepen.
Step 6: Cool and Strain
-
Once everything has simmered and taken on wonderful flavors, remove from heat. Let it cool slightly and strain the oil into a glass jar. The solids can either be discarded or reserved to sprinkle over dishes later.
Step 7: Store Your Chili Crisp
-
Allow your chili crisp to cool completely before sealing the jar. It’ll keep in the fridge for about a month—if it lasts that long!
Nutrition Facts
Servings 32
- Amount Per Serving
- Calories 100kcal
- % Daily Value *
- Total Fat 11g17%
- Saturated Fat 1.5g8%
- Sodium 140mg6%
- Total Carbohydrate 2g1%
- Dietary Fiber 0.5g2%
- Sugars 1g
* Percent Daily Values are based on a 2,000 calorie diet. Your daily value may be higher or lower depending on your calorie needs.
Note
- Experiment with Spices
Feel free to add spices you love—ginger or cumin can radicalize your recipe. - Adjust the Heat
If you like a milder version, use fewer pepper flakes or remove seeds from chiles. - Don’t Rush the Infusion
Give it time during simmering; the longer, the better the flavor. - Test Before Storing
Before putting it away, taste-test to see if it needs any tweaks. - Reuse for Future Dishes
Don’t discard used aromatics! Toss a few in stir-fries for extra depth of flavor.


