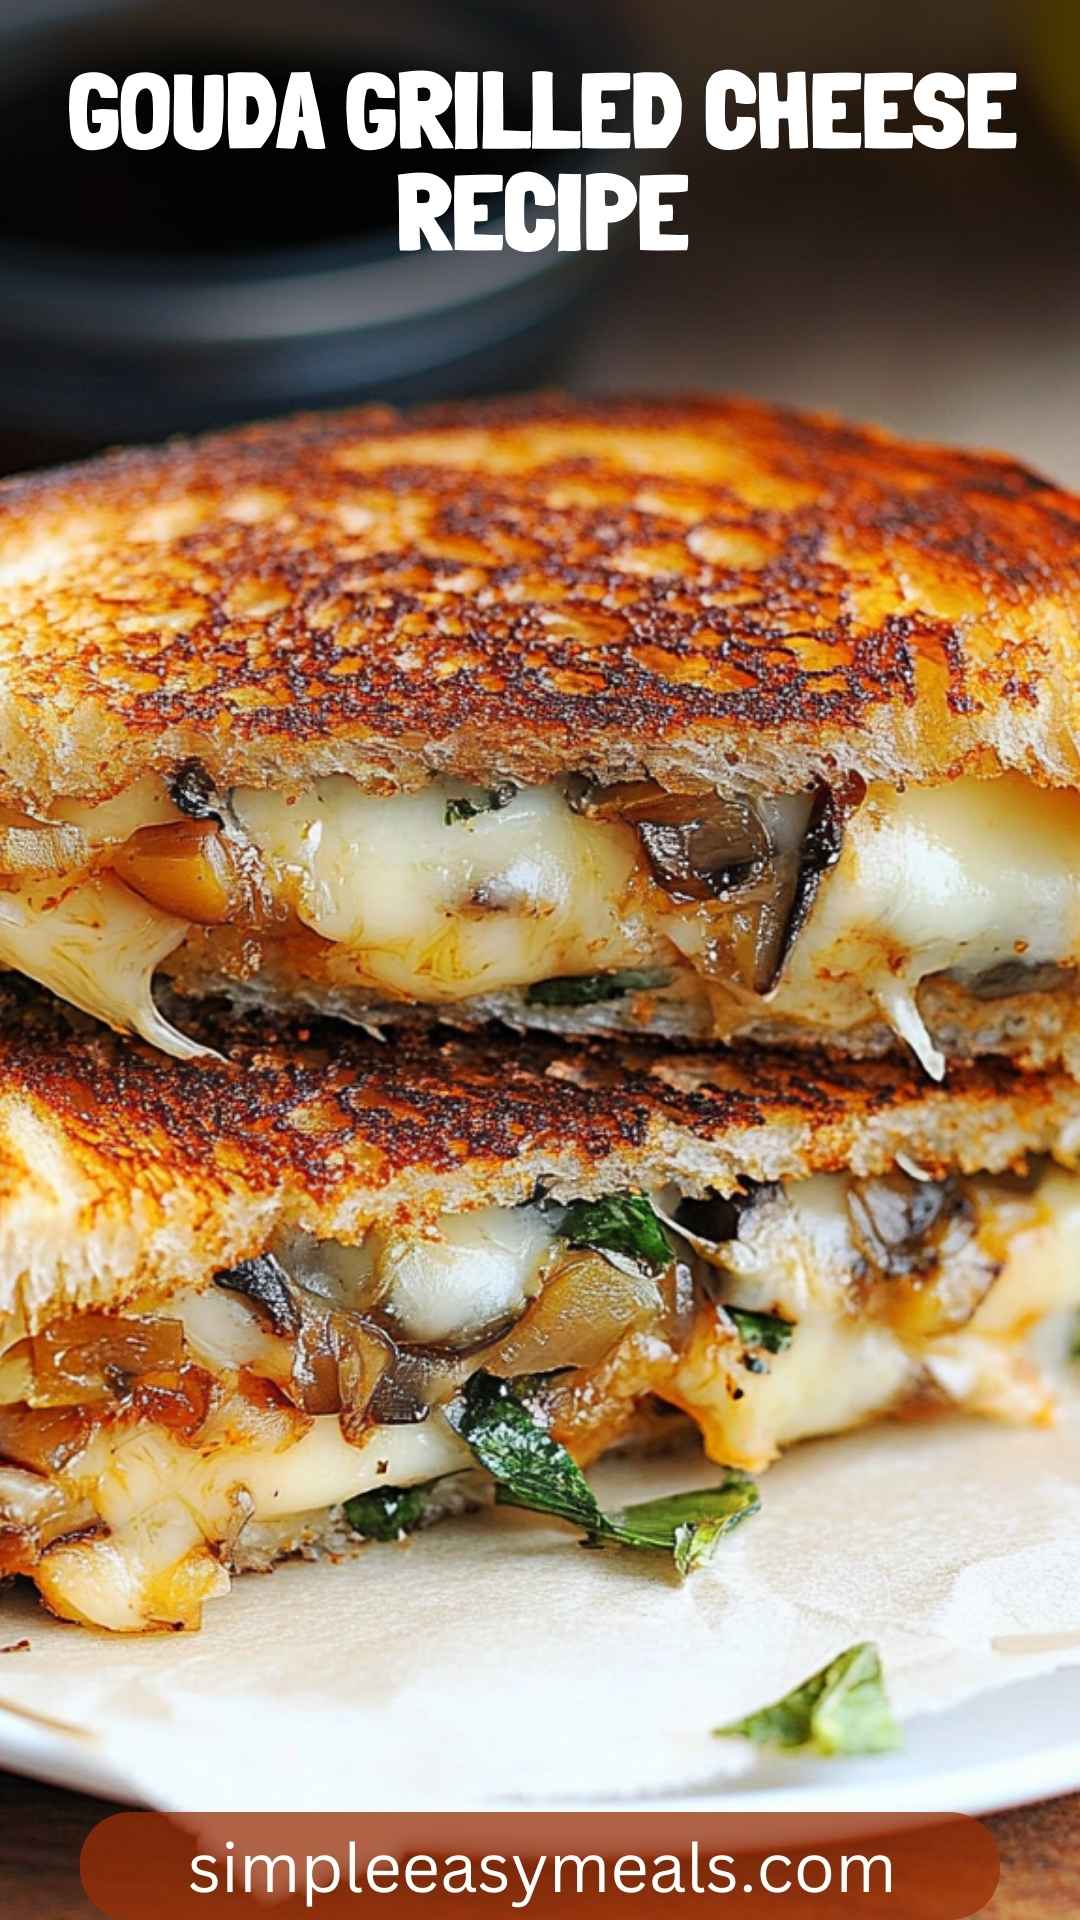
Have you ever tasted something that whisked you away, like a magic carpet ride? That’s what the Disneyland Grilled Cheese did for me during my last visit to the park.
As I stood at the backdrop of the iconic castle, the aroma of melting cheese called to me like a siren. I took a bite, and let me tell you, it was a moment of beauty. That blissful experience ignited a mission.
I wanted to recreate that iconic sandwich in my own kitchen. So, buckle up as I walk you through this adventure, sharing mouthwatering details, insider tips, and delectable secrets.

What is Disneyland Grilled Cheese?
Disneyland Grilled Cheese is not just any sandwich; it’s an embodiment of comfort in food form. It’s a four-cheese wonder, featuring a blend of sharp cheddar, provolone, Gruyère, and fontina, layered between artisan bread and grilled to perfection.
When you take that first bite, you’re met with creamy bliss, a perfect crunch, and the nostalgia of theme park magic. It truly is a crowd-pleaser, transcending ages and tastes.
What Does It Taste Like?
Imagine biting into crispy bread, perfectly toasted until golden brown. The moment you sink your teeth in, the cheese starts to ooze, creating a cheesy tapestry of flavors.
There’s the sharp tanginess of cheddar harmonizing with the nutty Gruyère, the mild smoothness of provolone, and the rich creaminess of fontina. The buttery finish from the grilling process only adds to the sensory experience, making each bite a little piece of happiness.
Why This Recipe Works
This recipe for Disneyland Grilled Cheese shines for several reasons:
1. Cheesy Perfection: The combination of four types of cheese ensures a harmonious mix of flavors and textures. Each cheese provides something unique, contributing to a complex yet balanced taste profile.
2. Quality Ingredients: Utilizing high-quality bread and fresh ingredients elevates the dish. Rustic, crusty bread gives that satisfying crunch, while fresh herbs like chives awaken the flavors.
3. Simple Preparation: The steps involved are straightforward. You don’t need to be a kitchen wizard to pull this off. With just a few simple moves, you can create a gourmet meal.
4. Versatility: This recipe invites creativity. You can mix in whatever ingredients you fancy. Add bacon, tomatoes, or even a drizzle of balsamic glaze if you want to mix things up.
Ingredients for Disneyland Grilled Cheese
Cream Cheese Spread:
- 1/2 cup softened cream cheese
- 1/2 cup grated Double Gloucester cheese or aged sharp cheddar
- 1/4 teaspoon flaky sea salt
- 2 tablespoons full-fat cream
- 1/2 teaspoon freshly cracked black pepper
- 1 tablespoon fresh chives, finely chopped
Garlic Spread:
- 1/2 teaspoon smoked paprika
- 1 cup creamy mayonnaise
- 1/2 teaspoon coarse sea salt
- 1 1/2 teaspoons finely minced garlic
- 1/2 teaspoon lemon zest
Grilled Four-Cheese Sandwich:
- 8 slices of sharp cheddar cheese
- 8 slices of provolone cheese
- 4 slices of Gruyère cheese
- 4 slices of fontina cheese
- 8 slices of rustic, crusty bread
- Butter or olive oil, for grilling
Step-by-Step Instructions
Step 1: Prepare the Cream Cheese Spread
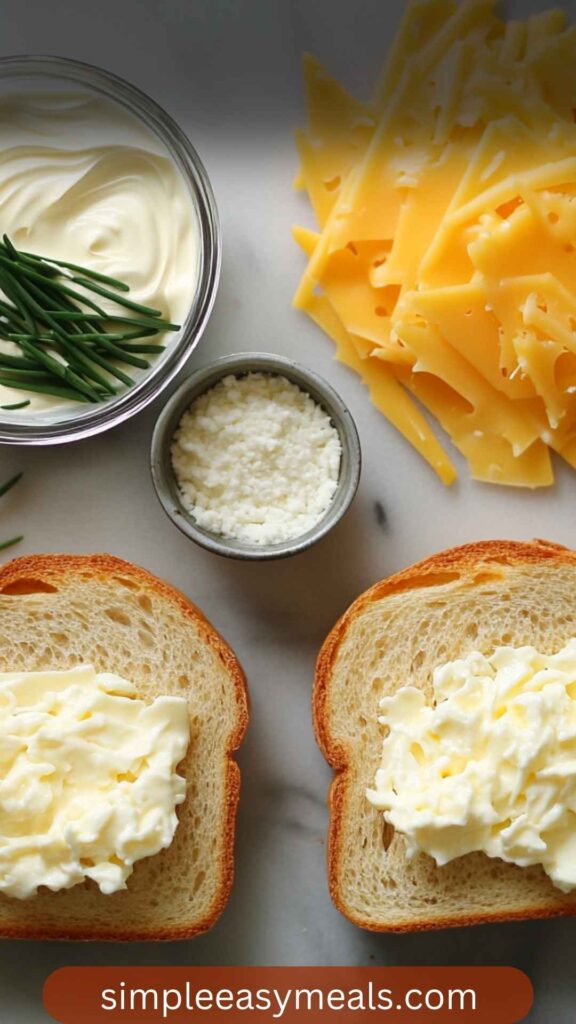
In a mixing bowl, combine the softened cream cheese, grated cheese, flaky sea salt, cream, black pepper, and chives. Use a spatula to mix everything until well incorporated. Set this aside—this is the magic that adds richness and depth to your grilled cheese.
Step 2: Make the Garlic Spread
In another bowl, whip together the mayonnaise, smoked paprika, coarse sea salt, minced garlic, and lemon zest. This zesty mix brings a bold flavor that plays nicely with the cheese.
Step 3: Assemble Your Sandwich
Take two slices of your rustic bread and spread a generous layer of the cream cheese mix on one slice and the garlic spread on the other. Lay out your cheese slices in a glorious stack between the bread.
You might feel overwhelming joy at this stage; it’s like building a cheesy fortress.
Step 4: Grill to Perfection
Heat a skillet over medium heat. Add butter or olive oil, whatever makes your heart sing. Place your assembled sandwich in the skillet.
Grill for about 3-4 minutes per side, pressing down gently with a spatula until the bread turns golden and the cheese melts—keep a watchful eye.
Step 5: Slice and Serve
Once both sides are crispy and golden, remove the sandwich from the skillet and let it rest for a minute. Finally, slice it in half and behold that melty goodness inside. It’s picture-perfect and ready to serve!
Notes
- Use Fresh Ingredients: Always opt for fresh cheese and bread. It makes a noticeable difference.
- Grilling Temperature: Don’t rush the process. Medium heat allows the inside to melt before the outside burns.
- Try Different Cheeses: If the cheese collection isn’t available, substitute with other cheeses like mozzarella or Gouda.
- Spice It Up: Feeling adventurous? Add a hint of spice with some crushed red pepper or jalapeños.
- Make It Ahead: Prepare the spreads a day in advance, store them in airtight containers, and pull them out when you’re ready to grill.
How to Store the Leftovers?
If, against all odds, you have leftover grilled cheese, here’s how to store it:
- Refrigerate: Place the sandwich in an airtight container. It can last for 3-4 days in the fridge.
- Reheat: For the best texture, reheat in a skillet over low heat until warmed through. Avoid microwaving as it can make the bread soggy.
Sides for Disneyland Grilled Cheese
1. Tomato Basil Soup: This traditional pairing not only complements the cheese but offers a refreshing balance. Its lightly acidic and herbaceous notes fight against the richness of the sandwich.
2. Sweet Potato Fries: This side adds a delightful crunch and sweetness. The natural sugar in sweet potatoes contrasts nicely with the savory grilled cheese.
3. Crunchy Coleslaw: A tangy coleslaw can introduce texture and a burst of flavor that cleanses the palate. Think of the crunch you get with each bite!
4. Pickle Platter: A few assorted pickles can provide that tangy kick to brighten up the meal and offset the heaviness of the cheese.
Alternative Choices for Ingredients
1. Cheese Alternatives: If the specific cheeses aren’t available:
- Emmental can replace Gruyère.
- Monterey Jack can be a substitute for cheddar due to its mild flavor and good melting properties.
2. Gluten-Free Bread: For those avoiding gluten, many brands offer delicious gluten-free options that work wonderfully here.
3. Low-Fat Options: You can use low-fat cream cheese and a lighter mayonnaise for a healthier version. The taste might vary slightly, so adjust seasonings accordingly.
4. Herb Alternatives: Fresh chives are delightful, but fresh dill or parsley can equally enhance flavor in this dish.
Conclusion
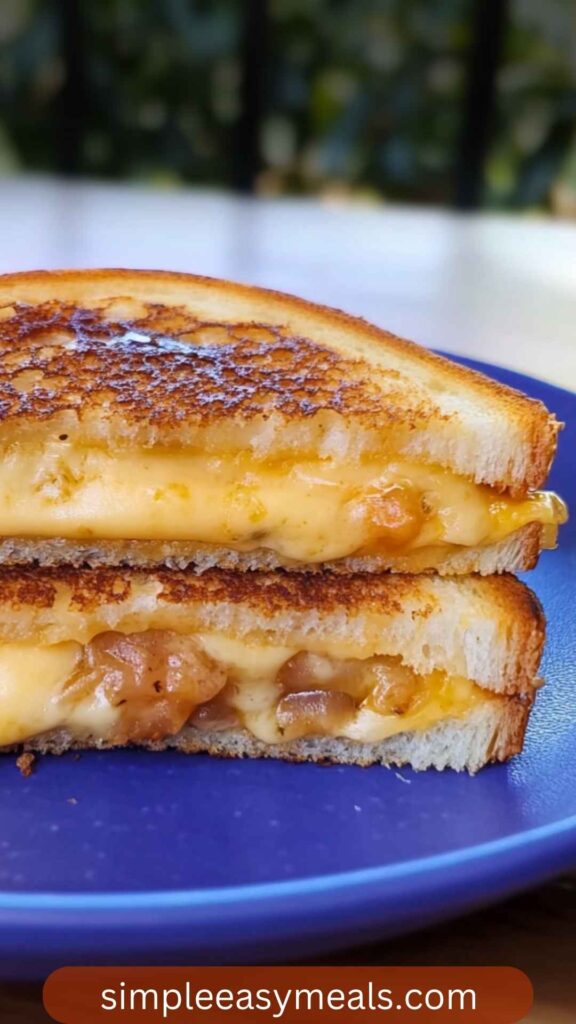
Creating Disneyland Grilled Cheese at home is not just about making a sandwich; it’s about crafting a culinary experience that can whisk you away to a joyous place filled with nostalgia and comfort.
Whether enjoyed alongside a bowl of tomato soup or fresh pickles, this dish embodies a taste of childhood mingle with culinary creativity.
So, put on your chef hat, gather your ingredients, and get ready to indulge in a little bit of magic right in your kitchen! Here’s to delicious bites and wonderful memories created around the table. Enjoy!
You’ll also like the following recipes!
- Birria Grilled Cheese Copycat Recipe
- How to Make Capital Grille Lobster Mac And Cheese
- Best Apple Grilled Cheese Sandwich Recipe
Disneyland Grilled Cheese Recipe – Simple Easy Meals
Before we dive into the gooey goodness of Disneyland Grilled Cheese, let’s ponder some delightful companions that can elevate your meal. Consider a bowl of tomato soup; it’s classic, comforting, and offers that perfect warm dip for your sandwich.
If you’re feeling adventurous, a vibrant mixed greens salad can add freshness and a crunch to your meal. For those looking for something heartier, sweet potato fries or crispy onion rings can provide that irresistible crunch.
Lastly, you might want to explore a side of pickles—their tangy snap can balance the rich, cheesy flavors beautifully.

Ingredients
Cream Cheese Spread
Garlic Spread
Grilled Four-Cheese Sandwich
Instructions
Step 1: Prepare the Cream Cheese Spread
-
In a mixing bowl, combine the softened cream cheese, grated cheese, flaky sea salt, cream, black pepper, and chives. Use a spatula to mix everything until well incorporated. Set this aside—this is the magic that adds richness and depth to your grilled cheese.
Step 2: Make the Garlic Spread
-
In another bowl, whip together the mayonnaise, smoked paprika, coarse sea salt, minced garlic, and lemon zest. This zesty mix brings a bold flavor that plays nicely with the cheese.
Step 3: Assemble Your Sandwich
-
Take two slices of your rustic bread and spread a generous layer of the cream cheese mix on one slice and the garlic spread on the other. Lay out your cheese slices in a glorious stack between the bread.
You might feel overwhelming joy at this stage; it’s like building a cheesy fortress.
Step 4: Grill to Perfection
-
Heat a skillet over medium heat. Add butter or olive oil, whatever makes your heart sing. Place your assembled sandwich in the skillet.
Grill for about 3-4 minutes per side, pressing down gently with a spatula until the bread turns golden and the cheese melts—keep a watchful eye.
Step 5: Slice and Serve
-
Once both sides are crispy and golden, remove the sandwich from the skillet and let it rest for a minute. Finally, slice it in half and behold that melty goodness inside. It’s picture-perfect and ready to serve!
Nutrition Facts
Servings 1
- Amount Per Serving
- Calories 663kcal
- % Daily Value *
- Total Fat 42.3g66%
- Saturated Fat 18.3g92%
- Trans Fat 0.7g
- Cholesterol 89mg30%
- Sodium 3211mg134%
- Total Carbohydrate 41g14%
- Dietary Fiber 3g12%
- Sugars 7g
- Protein 30g60%
* Percent Daily Values are based on a 2,000 calorie diet. Your daily value may be higher or lower depending on your calorie needs.
Note
- Use Fresh Ingredients: Always opt for fresh cheese and bread. It makes a noticeable difference.
- Grilling Temperature: Don’t rush the process. Medium heat allows the inside to melt before the outside burns.
- Try Different Cheeses: If the cheese collection isn’t available, substitute with other cheeses like mozzarella or Gouda.
- Spice It Up: Feeling adventurous? Add a hint of spice with some crushed red pepper or jalapeños.
- Make It Ahead: Prepare the spreads a day in advance, store them in airtight containers, and pull them out when you’re ready to grill.


